
Last updated November 15, 2026
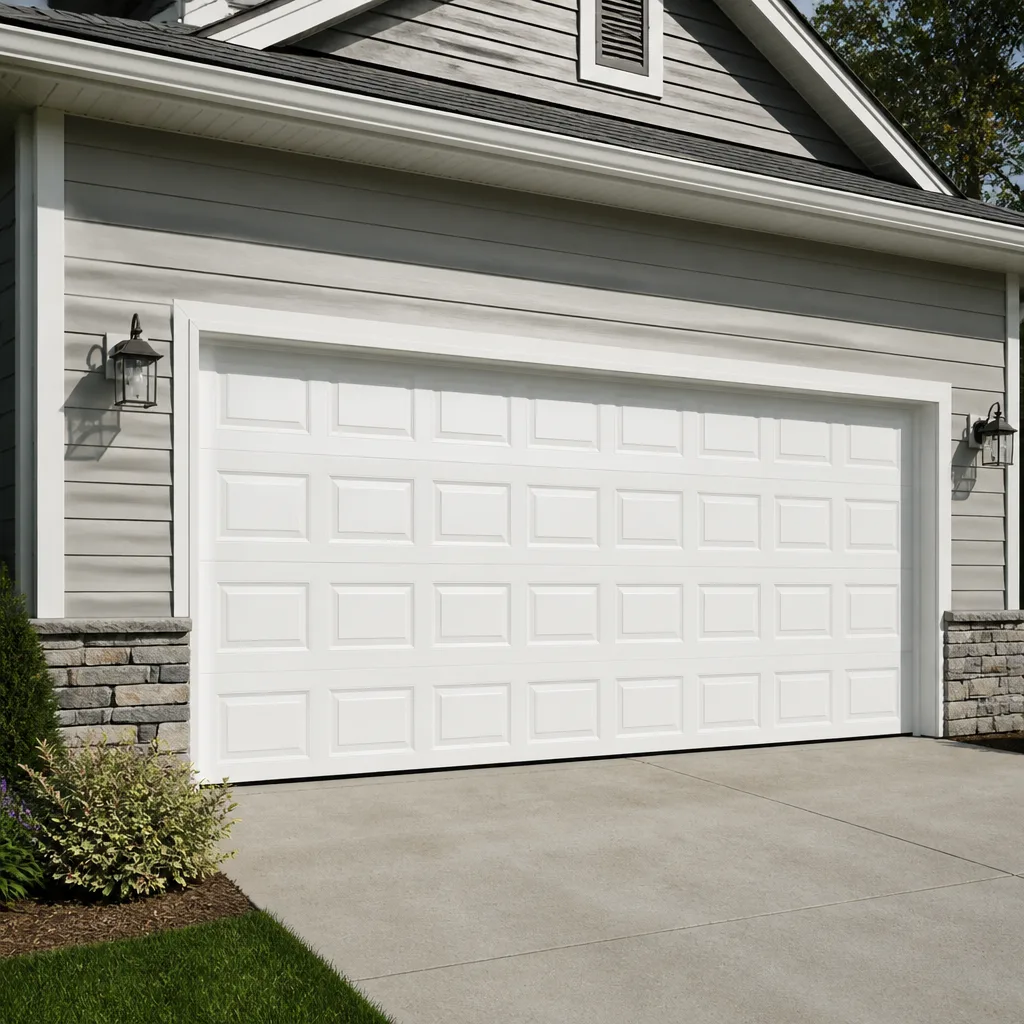 Raised-panel steel
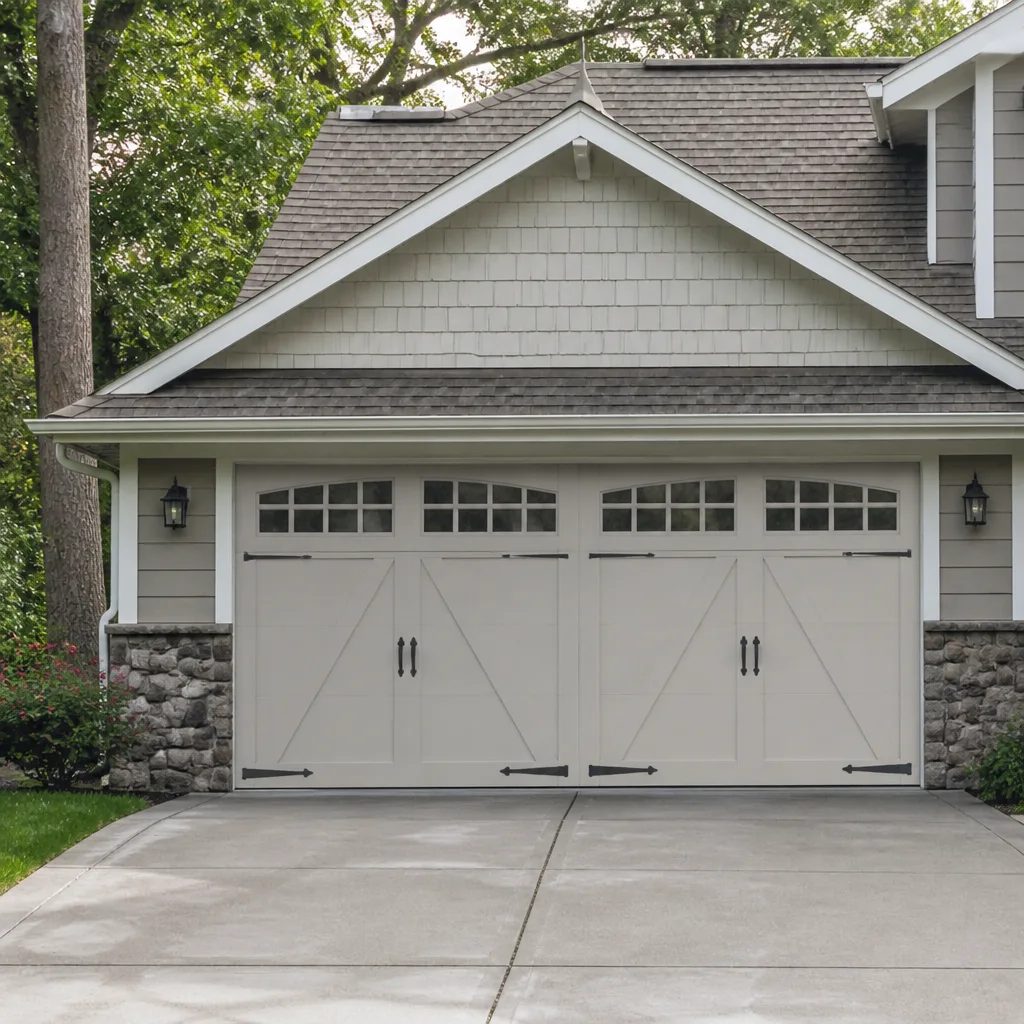 Carriage house
 Modern flush
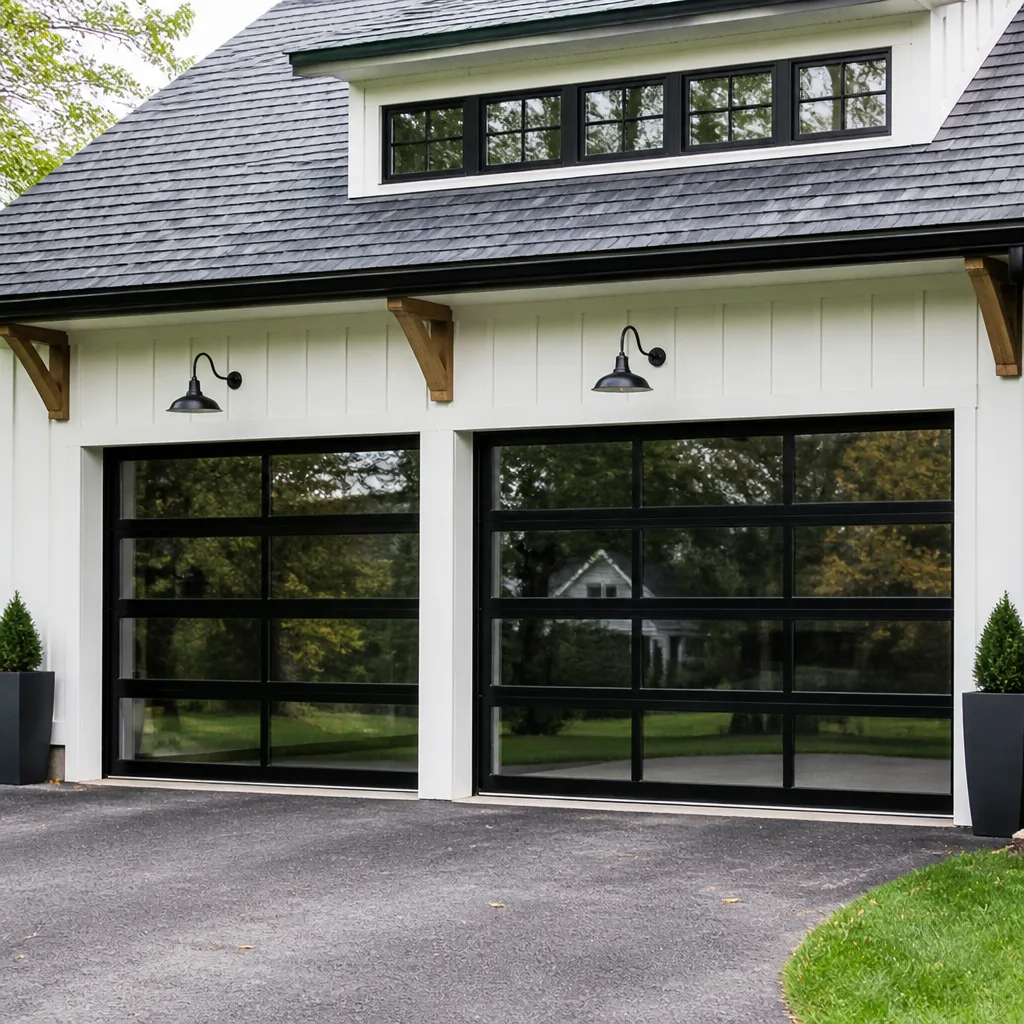 Full-view glass
 LiftMaster openers
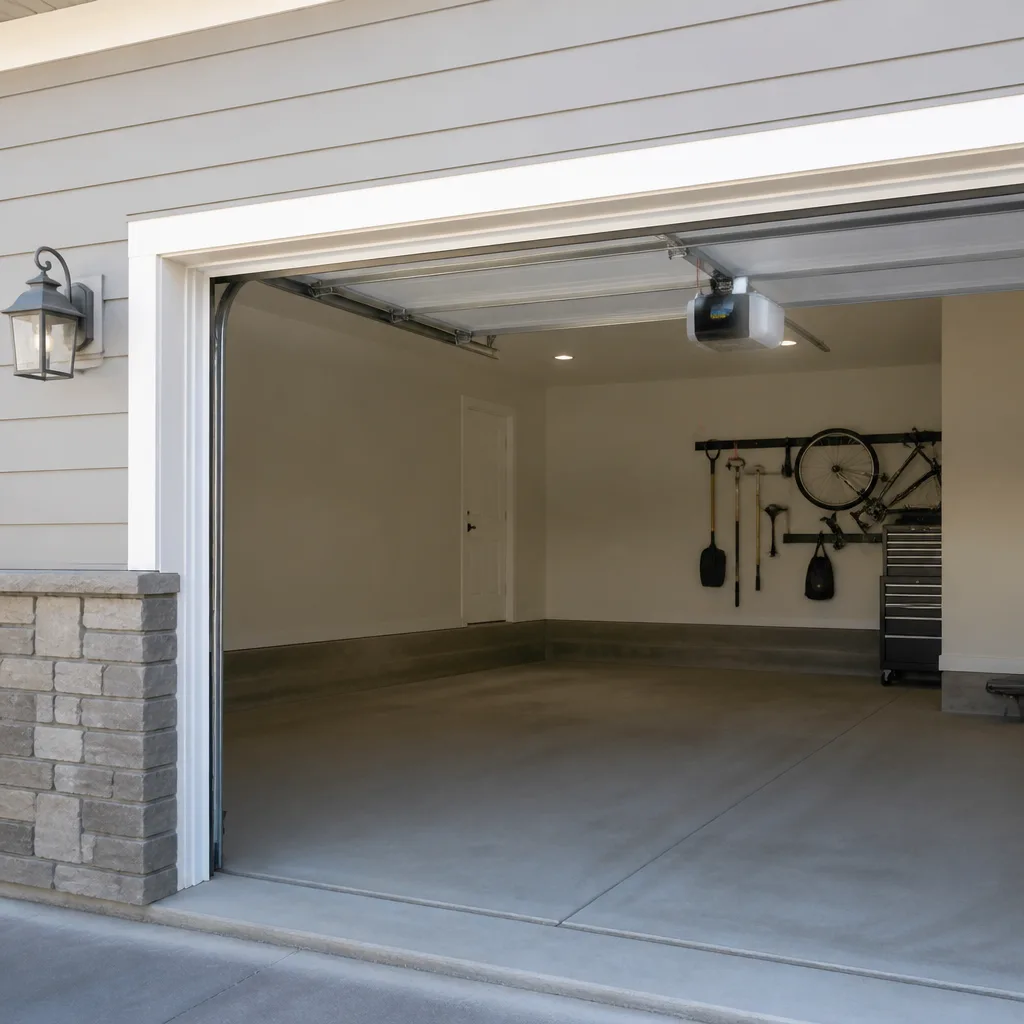 Chamberlain openers
Full 25-point door and opener safety check with every visit - springs, cables, rollers, tracks, and your LiftMaster or Chamberlain opener included
You get a price before we start. It does not change when the pro arrives.
Get your free estimateDIY vs Professional Garage Door: The Everett Homeowner’s Decision Guide
Most advice about garage doors splits homeowners into two camps: the handy ones who should DIY, and everyone else who should call someone. That framing misses the point. The real question is not whether you’re capable. It’s whether the specific job in front of you carries risk you can’t see until something goes wrong. Replacing a bottom seal? Absolutely DIY. Adjusting cable tension on a torsion spring system? That isn’t a skill-level question. It’s a physics question involving hundreds of pounds of stored energy that sends homeowners to the emergency room every year. In this guide, we’ll walk through garage door tasks in Everett one by one and show you which ones are safe to handle, which ones quietly void your warranty, and which ones you should never touch. You’ll finish with a clear decision tree instead of a gut feeling.
Quick Answer
Of the roughly two dozen garage door tasks a homeowner faces, most cosmetic and sensor-related fixes are genuinely safe to do yourself. Anything involving springs, cables, or the torsion system is not a DIY job at any skill level because of stored energy and the risk of sudden release. For electrical work on your opener, a warranty-preserving rule applies: let a licensed technician touch it. Everything in between falls into a middle zone where you can prep the work but a pro should finish it.
Styles & brands we work with
- Raised-panel steel
- Carriage house
- Modern flush
- Full-view glass
- LiftMaster openers
- Chamberlain openers
Table of Contents
- The Task-by-Task Decision Matrix
- What You Can Safely Do Yourself
- What You Should Never DIY (and Why)
- Where DIY Quietly Voids Your Warranty
- True Cost Comparison: Parts, Tools, Time, and Retry Risk
- Washington Liability: What Happens If Something Goes Wrong
- The Middle Path: Prep Yourself, Hire the Final 20%
- Everett-Specific Factors That Change the Math
The Task-by-Task Decision Matrix
Here’s the clearest way we can frame garage door work: put every task on a scale from “safe to try” to “do not touch.” Context matters. A homeowner who has replaced a doorknob will have no trouble with a bottom seal. A homeowner who has done plumbing repairs still shouldn’t touch a torsion spring. The matrix below is what our technicians use when they’re deciding whether a homeowner’s attempted fix is reasonable or risky.
- Green light (DIY-safe): Bottom seal replacement, weatherstripping, lubrication of rollers, tracks, and hinges, cleaning photo-eye sensors, replacing remote batteries, straightening a slightly dented panel with a rubber mallet.
- Yellow light (prep only): Track adjustment, roller replacement on a door that is fully down with springs unwound, opener programming for a new remote, safety-reverse testing.
- Red light (never DIY): Torsion spring replacement, extension spring replacement, cable replacement or re-tensioning, bottom bracket replacement, drum replacement, anything that requires unwinding or winding spring tension, and any work on a door that is currently stuck open or stuck closed.
- Electrical red light (licensed technician): Opener motor replacement, circuit board replacement, wiring changes to the opener’s power supply, capacitor replacement.
The pattern is clear once you see it. If the task involves stored mechanical energy, it’s red. If it involves line voltage, it’s red. If it involves cleaning, sealing, or programming, it’s green or yellow. Everett homeowners who follow that simple filter avoid almost every serious garage door injury.
What You Can Safely Do Yourself
There are plenty of tasks that are both safe and cost-effective to do yourself. This matters because the pro-vs-DIY conversation often swings too far the other direction, implying that every garage door task is dangerous. It’s not. Below is what we tell homeowners in Everett is genuinely worth their time.
- Replace the bottom seal. If you can see daylight under your closed door or feel a draft, the seal is likely worn. The rubber pulls out of its retainer and slides back in. A replacement runs a modest amount in parts and takes under an hour with basic tools.
- Lubricate moving parts. Once or twice a year, apply a garage-door-specific lubricant (not WD-40) to rollers, hinges, and the torsion bar bearings. Avoid the tracks; they should stay clean and dry. This is the single best thing you can do to prolong your door’s life.
- Clean the photo-eye sensors. Wipe down the two sensors near the floor with a dry cloth. A surprising number of “broken doors” are just dusty lenses on a sunny Everett morning.
- Replace remote batteries. Obvious, but worth stating. If your Chamberlain or Genie remote stops responding and the wall button still works, the battery is the first suspect.
- Test the safety reverse. Place a 2×4 flat on the floor under the closing door. If the door doesn’t reverse on contact, the opener needs adjustment. Testing is safe; adjusting the opener’s force or travel limits is where homeowners usually get stuck.
If a task appears on this list, do it. If it involves the words “tension,” “spring,” or “cable,” stop reading and call us. We’re serious about that line.
What You Should Never DIY (and Why)
Torsion springs, extension springs, cables, and bottom brackets operate under continuous load measured in hundreds of pounds. When they fail, they release that energy instantly. It doesn’t matter how careful you are, how many videos you’ve watched, or how strong you are. The tools required for spring work, called winding bars, are specialty items most homeowners don’t own, and using the wrong tool (a screwdriver, a socket, or worse) is how many garage door injuries happen.
Here is what our technicians know from experience and what we want every Everett homeowner to understand:
- Springs are under load even when the door is down. A common myth is that a door in the closed position has no tension. It does. The spring is fully wound.
- Cables can snap without warning. A frayed cable is a live hazard. If you can see broken strands near the drum, keep the door closed and call a professional.
- Bottom brackets can fail violently. These small metal pieces hold the cable at the bottom of the door. Under tension, they can turn into shrapnel if removed in the wrong sequence.
- A door stuck open is a security problem, not a workspace. If your door is stuck open, don’t try to force it down. The springs and cables are already in an unusual state, and the safest move is to leave it alone until a technician is on site.
The measure of a good decision here isn’t bravery or thrift. It’s recognizing that some jobs are genuinely outside the scope of what a homeowner can do safely, no matter how handy you are. If you’re ever unsure, garage door repair is the safest call you can make.
Where DIY Quietly Voids Your Warranty
This is the section most guides skip. Manufacturer warranties on doors and openers often include language about who is allowed to service specific components. When a LiftMaster or Clopay system is installed, the installation usually carries a labor warranty from the installer and a component warranty from the manufacturer. The fine print matters.
The tasks most likely to void warranty coverage are:
- Opener electronics. Opening the housing on an opener to replace a circuit board or capacitor commonly voids the manufacturer’s warranty on that opener. This is true across LiftMaster, Chamberlain, and Genie units alike.
- Spring and cable replacement on a new door. Many door manufacturers require spring work to be done by a trained technician to keep the door’s structural warranty intact.
- Modifying tracks or mounting points. Moving a track to fix a misalignment can void coverage on the track assembly and shift liability for future failure.
- Aftermarket opener parts. Using a non-OEM circuit board or gear set on a Chamberlain or Genie opener usually voids the electronics warranty.
- Installation of an opener on a door that has a separate manufacturer. If the door wasn’t designed for the opener’s force profile, the manufacturer may point to installation as the cause of any failure. This happens more than homeowners realize.
Before you open up your opener or start swapping springs, read the warranty card that came with your system. If you can’t find it, call us with the model number on the door panel or opener housing and we can usually tell you what the coverage rules are. We work with the eight brands homeowners in Everett most commonly own, so there’s a good chance we know your system by name.
True Cost Comparison: Parts, Tools, Time, and Retry Risk
The DIY-vs-professional cost conversation almost always compares parts to labor, and that’s the wrong comparison. The honest math includes tool acquisition, realistic time cost, and retry risk. Here’s how to actually think about it.
Parts. A torsion spring pair runs a modest part cost. A bottom seal runs under $50. A remote battery runs a few dollars. So far, DIY looks great.
Tools. Replacing a seal needs a screwdriver and a utility knife. Replacing a torsion spring needs two winding bars (about $25 to $40 from a specialty supplier, not typically available at a local hardware store), a proper set of gloves, and usually a C-clamp for securing the door. That flips the math on springs quickly, before we even get to the risk.
Time cost. A seal replacement is one hour. A spring replacement, for a first-timer watching a video, is easily three to five hours if it goes well. Everett homeowners value their weekend time. That matters.
Retry risk. This is the factor most people ignore. A DIY seal replacement that goes wrong is a $30 mistake. A DIY spring replacement that goes wrong is a much more expensive call because the technician now has to fix what was attempted before fixing what was broken. We’ve been called out to plenty of garages where the honest fix budget doubled because of a previous attempt.
When you add it all up, the DIY tax on a spring job rarely nets out in the homeowner’s favor, and the risk profile is nothing like fixing a sink. For tasks like spring replacement, bottom brackets, or opener electronics, the professional estimate usually comes in close to the DIY true cost once tools and retry risk are counted. Our technicians have up to 10 years of experience and see the full range of home-attempted repairs, so we’ve learned where the numbers tend to land.
Washington Liability: What Happens If Something Goes Wrong
Here’s the piece almost no homeowner thinks about until it’s too late. If a DIY garage door repair or install results in injury to a family member or a visitor, your homeowner’s insurance may not cover the claim. Most policies exclude injuries arising from work the homeowner performed that requires a licensed professional, and some exclude injuries involving motorized equipment that wasn’t professionally installed. This isn’t a scare tactic; it’s how personal liability exclusions work. If your child is injured by a door that was improperly installed and the installation history is discoverable, the conversation with your insurance company gets very short.
The same logic applies to a home sale. During a home inspection, an inspector will check the door’s balance, the safety reverse, the photo-eye function, and the general condition of the springs, cables, and brackets. If the door shows signs of a homeowner-installed spring or a modified bracket, the inspector may flag it and recommend evaluation by a licensed professional before closing. That’s a scheduling headache during the most stressful part of a transaction.
We’re not telling you this to push you toward hiring us. We’re telling you because the math on DIY changes when insurance and home inspection enter the picture. The cost of a professional repair is straightforward. The cost of a liability claim, a delayed closing, or an uninsured injury is not.
The Middle Path: Prep Yourself, Hire the Final 20%
There’s a middle path most homeowners never hear about, and it’s often the smartest way to handle garage door work. The idea is simple: you handle the safe prep, a technician handles the final 20% that involves tension, load, or electrical work. This works especially well for homeowners who want to do something useful without taking on risk.
Here’s how that looks in practice:
- For a spring replacement: You can clear the garage so the technician has room to work, remove anything hanging near the door, and note any symptoms (noise, sagging, uneven travel) so you can describe them clearly on the phone. You should not touch the spring, cables, or brackets.
- For an opener replacement: You can measure the door’s height and width, note the opener model you want to replace (including the brand, whether it’s a LiftMaster, Chamberlain, or Genie), and confirm whether your home has a working outlet near the opener’s location. The technician handles the wiring and mounting.
- For a new door install: You can photograph the current door and opening, note the door’s material and color preference, and choose a manufacturer you’re interested in (Clopay, Amarr, and Wayne Dalton all offer residential lines). The technician measures and confirms the correct size and spring rate.
- For a safety-reverse failure: You test the door with a 2×4. If it doesn’t reverse, you stop testing and schedule service. Adjusting the opener’s force or travel limits is not a homeowner-safe job because the wrong adjustment can cause the door to close on a person or object.
The middle path lets you stay involved without crossing into the danger zone. And it saves everyone time on the visit, which is one of the ways we keep estimates free and prices reasonable. For opener-specific issues, our garage door opener repair service is the dedicated category we handle, and it’s the right call when the motor, remote, or smart-home integration is the problem rather than the door itself.
Everett-Specific Factors That Change the Math
Everett’s climate affects garage door wear in ways that don’t show up in manufacturing brochures. We get a lot of moisture through the fall and winter in the Pacific Northwest, and doors that face west or northwest take the brunt of wind-driven rain. That means:
- Bottom seals wear faster here. A seal that would last three years in the high desert may last 18 months in Everett. Replacing it yourself is fine; skipping it lets moisture into the garage and eventually into the mechanism.
- Wood doors need more attention. If you have a wood door (Clopay and Amarr both make wood-look options), check the finish every fall. Moisture intrusion at the panel seams is the most common cause of premature rot.
- Metal tracks can rust at the fasteners. Not the track itself in most cases, but the fasteners. Keeping the tracks dry and lubricating the rollers prevents the common “door seems to stick on one side” complaint, which often traces back to a rusted roller or hinge.
- Home inspection expectations are consistent. Everett inspectors want to see a functioning safety reverse, balanced door, and a clean bill of health on the door hardware. A spring or cable replacement done by a technician passes inspection; a homeowner-installed one may raise questions.
Everett’s housing stock spans a wide range, from older homes in the Bayside neighborhood to newer construction up toward Silver Lake. Each era of home has its own common failures: older doors tend to need spring and cable service, newer ones tend to need opener and sensor attention. Knowing what your era of home usually needs helps you decide what to take on yourself. If you want a technician who already knows your specific door and opener brand, that’s where the value of calling a specialist comes in. For more on how we serve the area, see our Everett page.
Common Mistakes to Avoid
We see the same handful of mistakes over and over in Everett. Avoiding them saves you the cost of a second call, and usually a bigger one.
- Using a screwdriver for spring work. It seems safer than buying winding bars. It isn’t. A screwdriver is the wrong shape and can slip under load. Every year, this decision leads to a hospital visit somewhere in Snohomish County.
- Adjusting the opener’s force limit as a “fix.” If the door is stiff or unbalanced, the right fix is mechanical, not electrical. Cranking up the opener’s force to compensate wears out the motor and hides the real problem.
- Replacing one spring instead of a matched pair. Torsion springs are usually replaced as a pair because they’re installed together and wear together. Replacing one spring leaves you with mismatched tension and a warranty question on the other spring.
- Skipping the photo-eye test after any repair. After any door or opener service, always re-test the safety reverse with a 2×4. A door that closes on an object is a serious problem, and the state expects automatic-reverse to function.
- Ignoring a frayed cable. A frayed cable is a warning sign. If you see broken strands, don’t operate the door more than necessary and book service. Waiting rarely ends well.
- Buying aftermarket opener parts to save a few dollars. Non-OEM boards and gears often void the manufacturer warranty on LiftMaster, Chamberlain, and Genie units. The savings disappear at the first failure.
- Attempting a full door replacement solo. Door panels are heavy, hinged under tension, and easy to drop. Installation always involves a professional measurement and a two-person lift, which is one reason installation is a scheduled job rather than a same-day service.
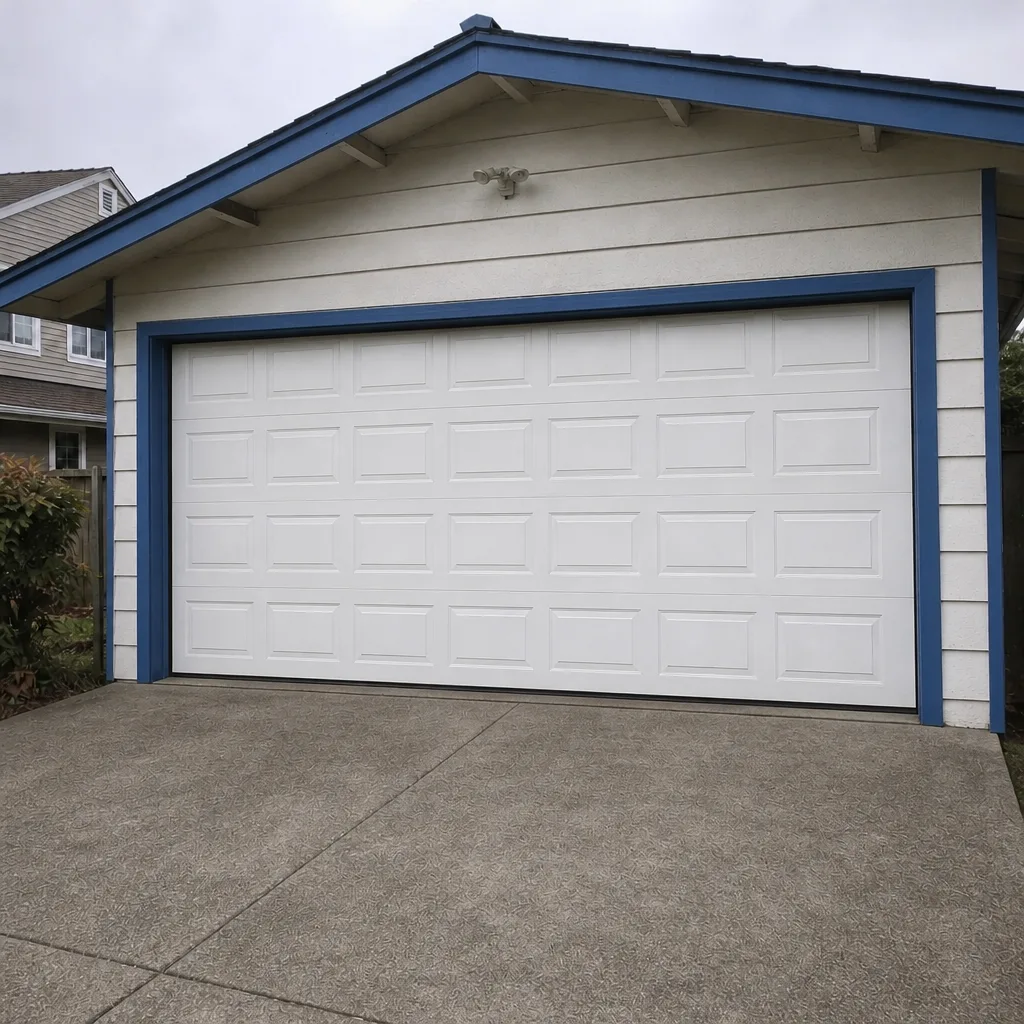
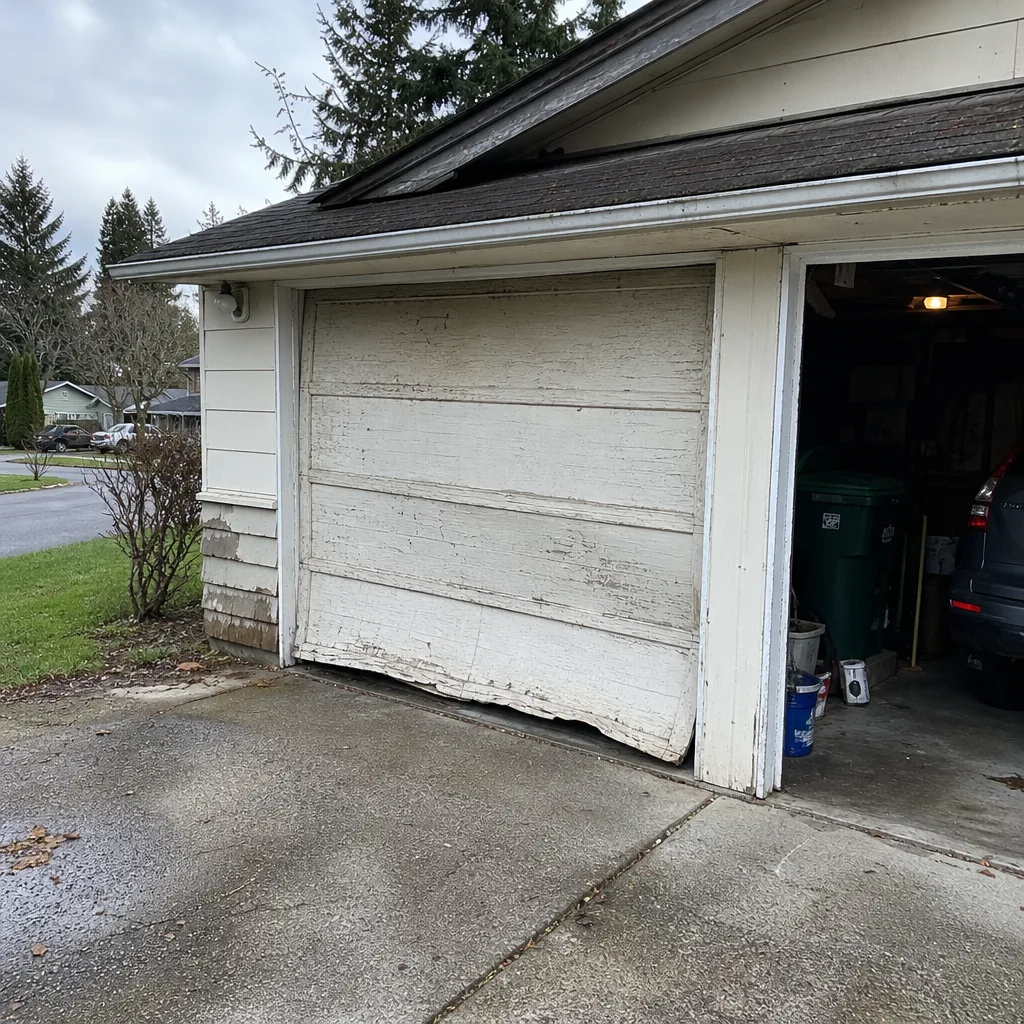
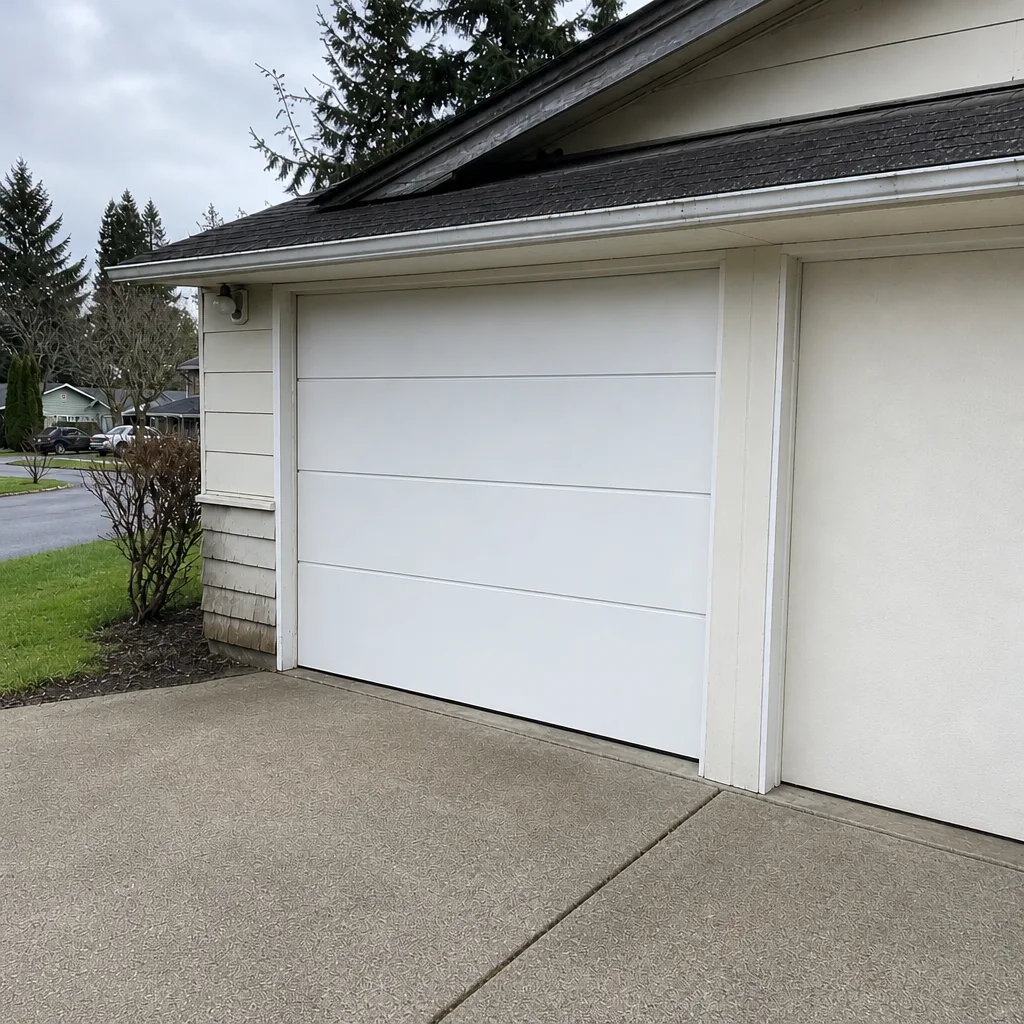
See the difference
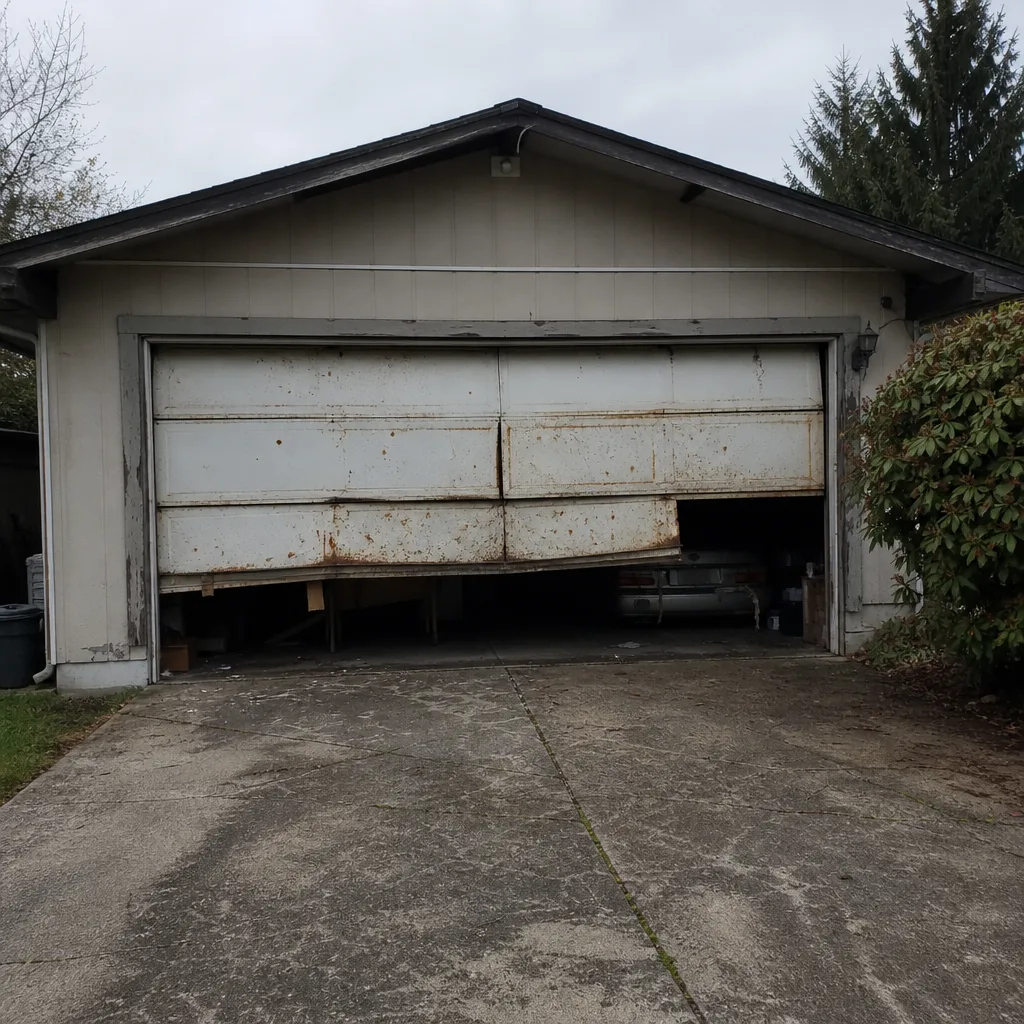 Before
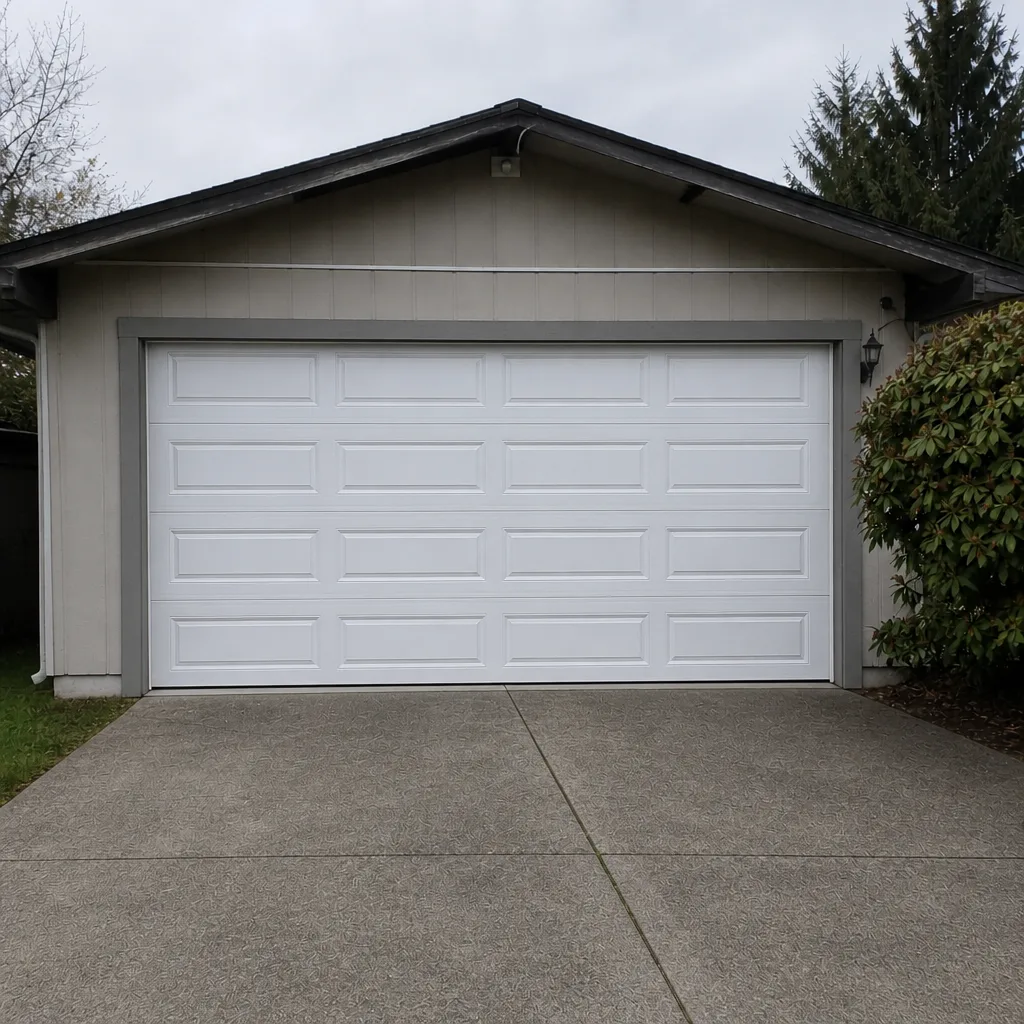 After
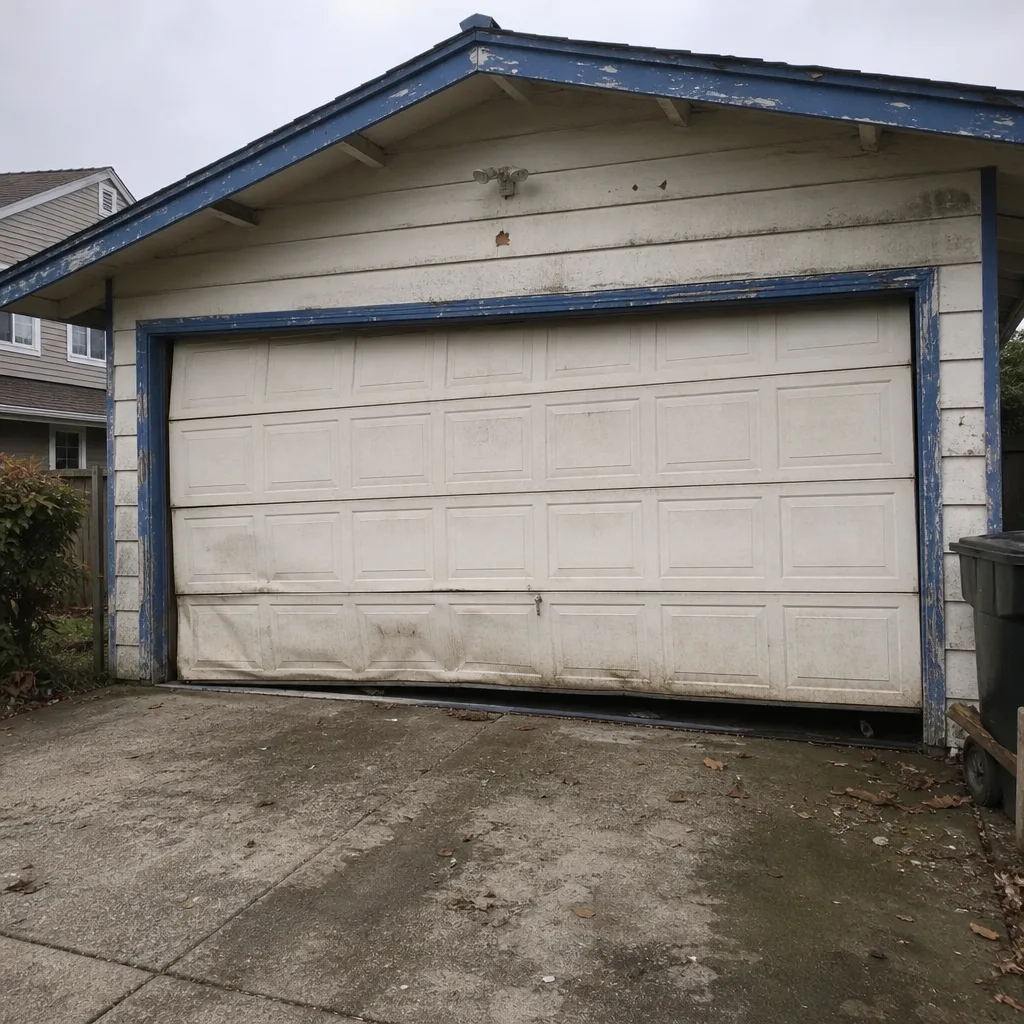 Before
 After
 Before
 After
When to Call a Professional
Call a professional for any work that involves torsion springs, extension springs, cables, bottom brackets, drums, opener electronics, or panel replacement. Also call when the door is stuck open or closed, when the safety reverse fails, when the door is visibly out of balance (it travels unevenly or lifts unevenly by hand), or when a spring has clearly broken. Those are the automatic-call situations. If you’re on the fence about a yellow-light task, call anyway; a short phone conversation is free, and we can usually tell you in under a minute whether it’s safe to attempt or better left to a technician.
Oasis Garage Door Repair offers free estimates in Everett. Call (833) 427-9172 to book. We answer 24/7. Fast dispatch from 7am to 7pm, Sunday through Friday. We certify technicians across LiftMaster, Chamberlain, Genie, Clopay, Amarr, Wayne Dalton, Craftsman, and Raynor systems, so wherever your door came from, there’s a good chance we already know it. Our technicians have up to 10 years of experience and our repair-first approach means we look before we recommend.
Frequently Asked Questions
No. Torsion spring replacement involves hundreds of pounds of stored energy and should only be done by a trained technician. Even with the right tools, an incorrect wind or a slipped bar can cause serious injury. If your spring is broken, keep the door closed and call us at (833) 427-9172; estimates are free.
Often, yes. Opening the housing on a LiftMaster, Chamberlain, or Genie opener typically voids the manufacturer’s electronics warranty. Before you open the cover, check your warranty card, or call us with the model number and we can tell you what your coverage allows.
Spring replacement is priced per job by written estimate, so the number depends on your door’s size, spring type, and whether it’s a single or matched pair. We give you a written quote before any work starts, so you know the price in advance. Call (833) 427-9172 for a free estimate.
In most cases, yes. A door stuck open is a priority call because it’s a security and safety issue. We answer 24/7 and dispatch from 7am to 7pm, Sunday through Friday. Call (833) 427-9172 and we’ll confirm the earliest opening.
Only if the reverse is correctly set and tested. A misadjusted force or travel limit can cause the door to close on a person or object. After any repair, test the reverse with a 2×4 flat on the floor. If the door doesn’t reverse, stop and call us; a small adjustment now prevents a larger problem later.
Homeowner’s insurance may exclude injuries from work that requires a licensed professional, so the claim isn’t guaranteed to be covered. That’s part of why installation and spring work are best handled by a professional. If you’re unsure about a task, call us at (833) 427-9172 and we’ll tell you how we’d approach it. Estimates are free.
The Bottom Line
The garage door DIY decision isn’t about whether you’re handy. It’s about whether the specific task in front of you is safe, warranty-preserving, and worth the retry risk. Clean, seal, lubricate, and program what you can. Anything involving springs, cables, brackets, or opener electronics goes to a trained technician, every time. Add insurance, home inspection, and warranty coverage to the decision and the safe-and-honest answer usually lands in the same place. Everett homeowners who follow that rule get more years out of their doors, fewer unexpected bills, and a genuine sense of calm about the biggest moving part in their home. When in doubt, you can reach us at (833) 427-9172. We answer 24/7. Fast dispatch from 7am to 7pm, Sunday through Friday. Free estimates, upfront pricing, and the estimate you agree to before any work starts is the price you pay.
For our full range of services, visit Oasis Garage Door Repair.
Written by the team at Oasis Garage Door Repair.