
Last updated November 15, 2026
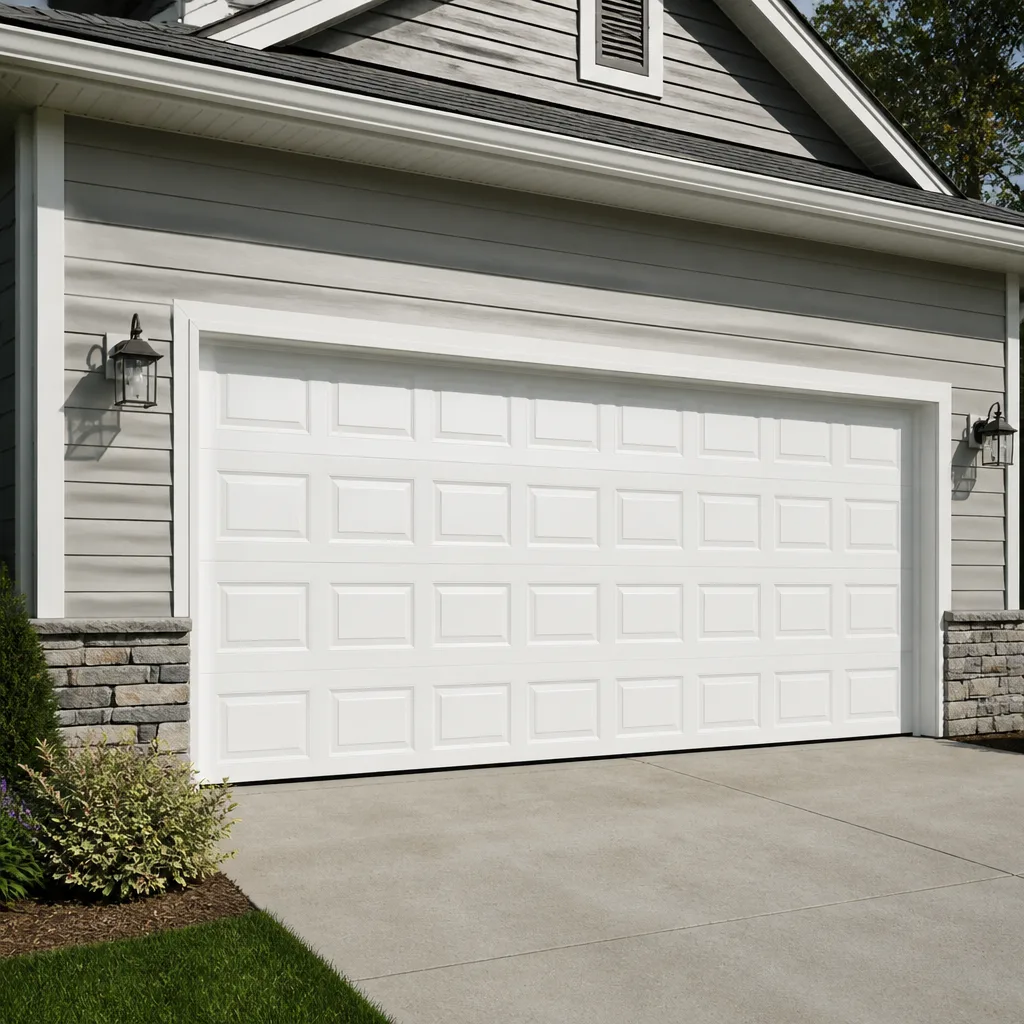 Raised-panel steel
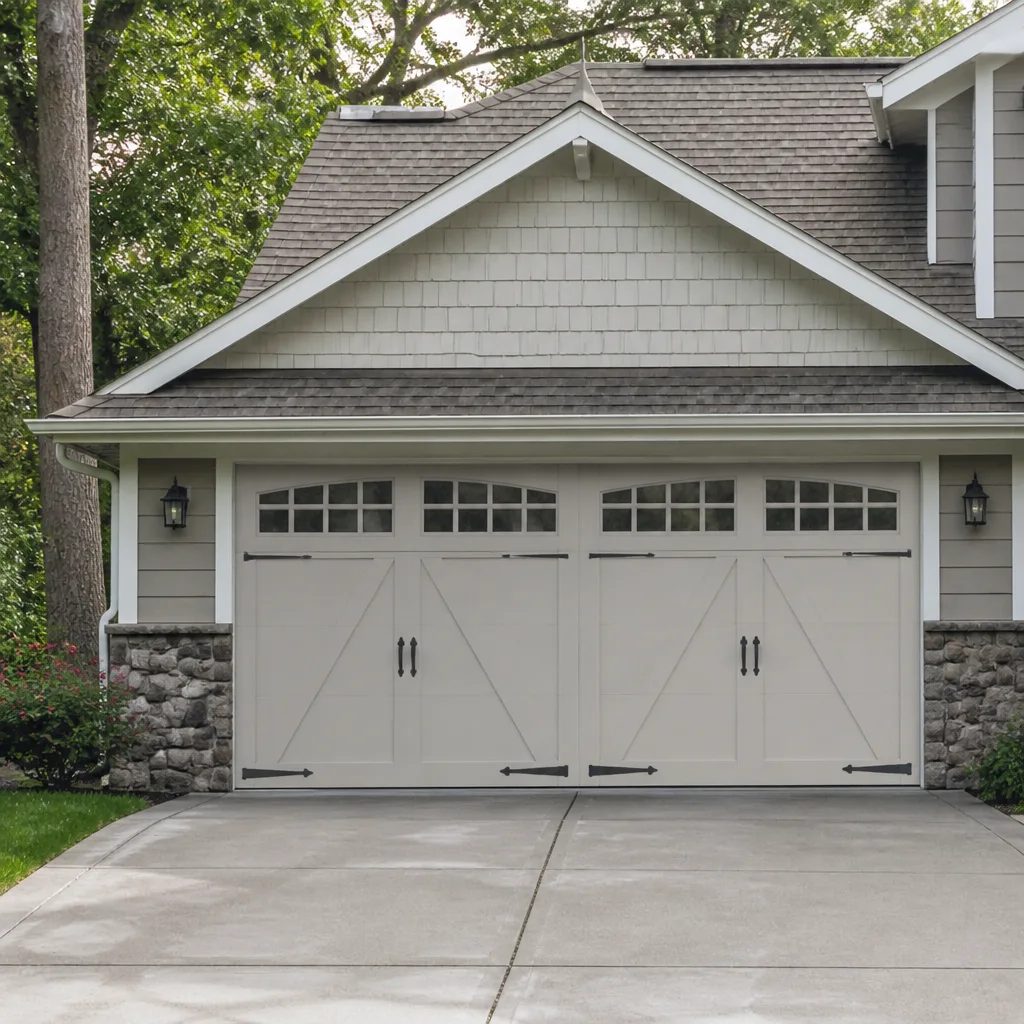 Carriage house
 Modern flush
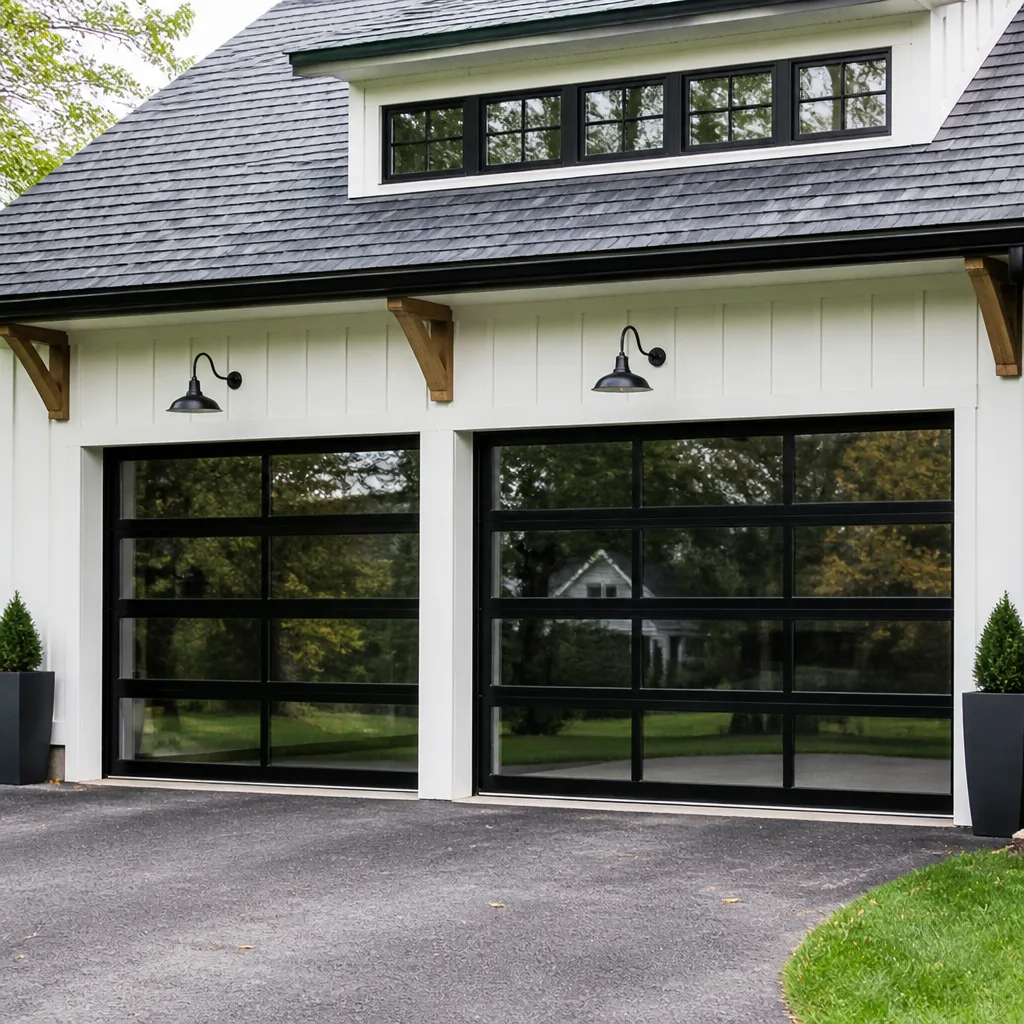 Full-view glass
 LiftMaster openers
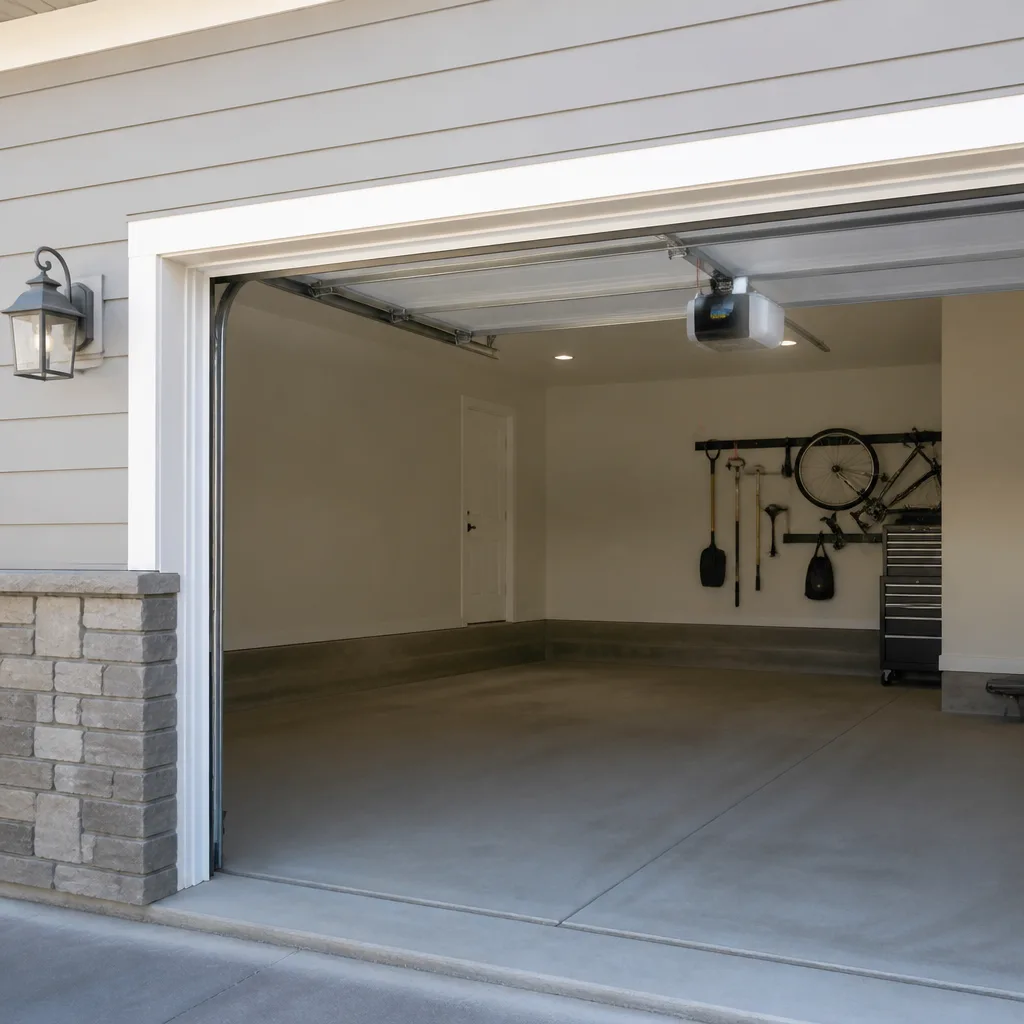 Chamberlain openers
Full 25-point door and opener safety check with every visit - springs, cables, rollers, tracks, and your LiftMaster or Chamberlain opener included
You get a price before we start. It does not change when the pro arrives.
Get your free estimateGarage Door Repair Maintenance Checklist for Everett Homeowners
The number one cause of early spring failure in the Pacific Northwest isn’t age. It’s rust that starts in the coil gaps and never gets noticed, because most checklists only tell you to “lubricate the springs” and never mention looking at them. A garage door in Everett lives through months of drizzle, cool mornings, and damp air that hangs around, so the wear pattern on your door looks different from what a generic national checklist describes. This guide teaches you to read what your door is telling you instead of guessing. You’ll get inspection points that match our wet weather, a realistic seasonal schedule, and a clear line between what you can safely do yourself and what belongs with a technician.
Quick Answer
A full garage door maintenance check covers the springs, cables, rollers, hinges, bottom seal, tracks, and opener, with small DIY tasks about every three months and a professional inspection once a year. In Everett’s damp climate, the parts that fail first are the ones holding moisture: the bottom seal, roller brackets, and the coils of the springs. Never adjust or remove springs or cables yourself. Those parts are under extreme tension and can cause serious injury.
Styles & brands we work with
- Raised-panel steel
- Carriage house
- Modern flush
- Full-view glass
- LiftMaster openers
- Chamberlain openers
Table of Contents
- How Your Garage Door Tells You Something’s Wrong
- The Moisture Checklist: Where Damp Air Does Damage First
- Lubricating vs. Over-Lubricating: The Spring Mistake
- The Opener Sensitivity Test You Can Run Yourself
- Seasonal Adjustments for Everett’s Temperature Swings
- How Often Should You Do This? A Realistic Schedule
- DIY Tasks vs. Technician-Only Tasks
- What Garage Door Repair and Maintenance Costs in Everett
How Your Garage Door Tells You Something’s Wrong
A garage door rarely fails without warning. It grinds, hesitates, or starts sounding like it’s working harder than it used to. The problem is that most homeowners hear a new noise and file it under “garage door thing” until something actually breaks. In our experience, the owners who catch problems early are the ones who know what a healthy door sounds like.
Here’s what a door in good shape does when you press the button:
- It moves in one smooth glide with a low, steady hum.
- Both sides travel at the same speed with no wobble or lurch.
- The door reverses right away when it meets an obstruction.
- It settles fully against the floor without a bounce.
- It runs quietly enough that you don’t hear it from the next room.
Compare that to the early warning signs. A sharp pop at the start of travel usually means a cable is working loose. A grinding noise that speeds up with the door often points to worn rollers. A door that rises a few inches and stops can mean a safety sensor issue. A door that feels heavier than it used to, even on a manual lift, hints at a spring losing tension.
Write nothing down if you don’t want to. Just pay attention to the sequence. If one morning the door sounds different from the day before, that difference is the message. Many Everett homeowners find that a small adjustment fixes the issue long before a spring fails or an opener motor burns out. That’s exactly the kind of early catch a maintenance habit is meant to produce.
The Moisture Checklist: Where Damp Air Does Damage First
Everett sits in a climate where damp air lingers through much of the year. That changes which parts of your garage door need the closest look. A checklist written for a dry climate will tell you to check the springs and call it done. Here’s what matters when moisture is in the picture.
Bottom seal compression
Press the bottom seal against the floor with your hand. It should feel springy and return to shape. If it’s hard, cracked, or flattened into a permanent pancake, cold and damp have done their work. A worn seal lets rain and cold air into the garage and puts more stress on the door as it operates. Run your fingers along the seal edge for splits. Replace it when it no longer makes contact along its full length.
Roller bracket rust
The metal brackets that hold your rollers are often the first spots to show orange-brown corrosion. That’s because condensation collects in the small crevices where the bracket meets the track. Look closely at each one. Light surface haze is normal. Flaking or pitting is not, and it means the rollers may be binding and dragging. When a bracket rusts enough, it stops holding the roller true and the door starts to pull off-line.
Cable fraying near the drum
Cables run up each side of the door and wrap around a drum at the top. Look at the cable where it meets the drum. Frayed strands, kinks, or flattened spots all signal wear. Damp air helps cables corrode, and a corroded cable can snap without much warning. This is a visual check only. Don’t touch, tighten, or try to rewrap a cable. Note it and call a technician.
Track and hinge moisture
Wipe the inside of each track with a dry cloth and look for grit or rust streaks. A little grime is fine; rust on the track itself means the door is dragging against it. Check the hinges too, especially on older steel doors, where the metal folds can trap water.
These four points are the core of a moisture-smart inspection. Doing them monthly through the wetter months takes five minutes and catches the majority of problems before they turn into repair bills. If any of them look severe, our team at Oasis Garage Door Repair can take a look and give you a straight answer.
Lubricating vs. Over-Lubricating: The Spring Mistake
Lubricating your garage door is good. Over-lubricating it, or using the wrong product, is not. The most common mistake we see in Everett homes is a light spritz of WD-40 on the springs, often done on advice from an internet checklist. It feels like maintenance. In a damp climate, it usually makes things worse.
Why WD-40 isn’t the fix
Regular WD-40 is a water-displacing solvent, not a lasting lubricant. It leaves a thin film that attracts dust and grit, and that mixture sticks to the spring coils. In a wet climate, the film can trap moisture instead of repelling it. Within weeks, the coils look worse than before. If you already use it, wipe the springs down and start fresh with the right product.
What to use
A garage door needs a lubricant that stays put. A lithium or silicone-based spray designed for garage doors works well. A light white spray grease for the rollers and hinges is another good option. Whatever you choose, use less than you think you need.
How to lubricate without overdoing it
- Wipe every hinge, roller pin, and track surface with a dry cloth first. You’re removing old grit, not adding to it.
- Apply a light spray to the hinge pivot points and roller pins. One short burst per point.
- Run a thin film along the inside of each track. Wipe away any excess so grit can’t collect.
- Spray the spring coils lightly if they show rust. You’re coating the coil gaps, not soaking the spring.
- Cycle the door up and down twice and listen for a difference. A proper lube job makes the door quieter and smoother, not sticky.
A note on springs
Even with correct lubrication, springs are not a DIY adjustment. They’re under extreme tension and can cause serious injury if handled wrong. If a spring shows deep rust, a visible gap, or a broken coil, stop and call a professional. Our garage door repair team handles spring problems like this all the time, and it’s not a repair worth attempting yourself.
The Opener Sensitivity Test You Can Run Yourself
Your opener is the brain of the system. A well-adjusted opener takes the load off the door and the springs. A poorly adjusted one strains the motor until it fails. There’s a simple test you can run every few months to catch motor strain before it turns into a burnout.
The door-weight test
With the door closed, pull the manual release cord to disconnect the opener. Lift the door about halfway by hand. A balanced door should stay put when you let go. If it drifts down on its own, the springs are losing tension. If it feels heavy, something is dragging. Reconnect the opener once you’re done, and only do this test if you feel comfortable lifting the door by hand.
The obstruction test
With the door running, place a small object in its path near the floor, or press gently against the bottom edge as it closes. The door should reverse immediately. If it doesn’t, the safety system needs attention. Check that the photo-eye sensors on each side of the door are lined up and clear of cobwebs, leaves, or a bumped bracket. If the door still doesn’t reverse, stop using it until a technician checks the opener settings.
The strain test for motor load
Listen to the motor during a normal cycle. It should sound steady and unhurried. If it groans, buzzes, or clicks partway through the run, the motor is working harder than it should. That’s often a sign the door needs lubrication or a spring has lost tension. On a LiftMaster or Chamberlain unit, an opener strain issue is typically a door problem in disguise, not an opener defect. Our garage door opener repair service includes a full opener diagnosis so we can trace the issue back to its source rather than just clearing the code.
If you have a smart-home setup or a model that logs errors through an app, check the app for repeat error codes. A door that reports an obstacle it didn’t encounter is usually telling you the sensitivity needs adjustment. If you’re regularly seeing the same code, that’s a call to a technician, not a reason to keep resetting it.
Seasonal Adjustments for Everett’s Temperature Swings
Everett’s temperature swing isn’t dramatic compared to the mountain passes, but it’s enough to move your door. Cool damp mornings and warmer afternoons cause metal parts to expand and contract slightly. Wooden doors move even more. The changes are small, but over a season they add up to a door that closes slightly differently from the way it did in spring.
Fall: the damp-season setup
Before the wetter months settle in, check the bottom seal and weatherstripping. Make sure the seal meets the floor and the trim along the sides and top of the door frame is intact. Re-lubricate the moving parts so the newly wet air has a barrier of proper lubricant. Have the door inspected before the cold arrives, when issues are easier to diagnose and repair schedules are less crowded.
Winter: the coldest mornings
Cold air stiffens lubricant and makes metal parts slightly less forgiving. If your door starts moving more slowly or making a heavier sound on the coldest mornings, it’s usually a lubricant or spring tension issue. Have the door professionally serviced once the cold settles in so the spring tension gets checked by someone who can do it safely.
Spring: the warm-up check
As temperatures rise, the door should move more easily, not less. If it feels the same or worse as the weather improves, that’s a sign something has worn over the winter. Run through the moisture checklist again and look for fresh rust on the springs or cable ends.
Summer: the dry season
The dry months are the easiest on the door. Use the time to check the opener sensitivity and clean the tracks. It’s also a good season to look at anything you’ve been putting off, since the schedule tends to calm down and the door is at its most predictable.
How Often Should You Do This? A Realistic Schedule
A maintenance schedule is useful only if you’ll actually follow it. Here’s what we recommend for a typical Everett home.
Monthly (five minutes)
- Press the bottom seal and look at the edges for splits.
- Look at the roller brackets and cable ends for rust or fraying. Visual only.
- Run the door by hand once to check the balance.
- Test the safety sensors by passing an object through the beam.
Every three months
- Lubricate hinges, rollers, and tracks lightly.
- Wipe down the tracks and look for rust streaks.
- Run the opener sensitivity test.
- Tighten any visible bolts on the hinges and track brackets by hand.
Twice a year
- Inspect the bottom seal and replace it if it’s no longer flexible.
- Check the weatherstripping on the door frame.
- Clean the photo-eye sensors on either side of the door.
- Look at the springs for rust or changes in shape. Don’t adjust them.
Once a year
- Have a professional inspect the springs, cables, drums, and opener.
- Have the door rebalanced and the safety systems retested.
- Get a written estimate if any parts look due for replacement.
Following this schedule is the easiest way to keep a door in Everett out of the repair category. Many homeowners find that a yearly inspection catches problems a checklist alone would miss, and it’s a small cost compared to a snapped spring or a burned-out motor.
DIY Tasks vs. Technician-Only Tasks
Not everything on this list is safe to do yourself. It’s worth knowing which items you can handle and which ones need a trained professional.
Safe for most homeowners
- Lubricating hinges, rollers, and tracks.
- Wiping down the tracks and cleaning the sensors.
- Pressing the bottom seal to check for flexibility.
- Testing the balance of the door by hand.
- Running the opener safety and obstruction tests.
- Tightening visible bolts on the hinges by hand.
Technician-only
- Adjusting or replacing springs.
- Repairing, tensioning, or replacing cables.
- Repositioning or realigning the drums at the top of the door.
- Adjusting the opener’s force or travel limits when the problem isn’t obvious.
- Replacing rollers that have seized or come off their stems.
- Repairing or replacing bent track sections.
- Any work that requires the door to be under tension or partially disassembled.
The DIY list is genuinely useful. The technician list protects you from the two parts of a garage door system that cause serious injuries every year: springs and cables. When a door fails on these parts, it usually doesn’t fail gently. If you’re ever unsure where a problem falls, the safe call is to have it checked. Our technicians have up to 10 years of experience, and our Everett team knows how these doors age in wet weather.
What Garage Door Repair and Maintenance Costs in Everett
Costs vary with the job, so treat any range as a planning number rather than a firm quote. The written estimate is always the real price.
- Spring replacement: typically an estimate per spring. A matching pair is usually replaced together, so budget roughly double.
- Roller replacement: priced per set, generally modest compared to spring work.
- Cable replacement: priced per side, usually when fraying or rust is caught early.
- Bottom seal replacement: a low-cost item that makes a real difference to drafts and damp.
- Opener diagnosis and repair: priced per job after the technician traces the fault.
- Annual professional inspection: priced per visit and usually quoted before we arrive.
Whatever you end up needing, the price is quoted and agreed before any work starts. You should never see a number after the job that you didn’t see before it. If a part looks fine, we’ll say so rather than pushing an unnecessary repair. That’s what the repair-first approach means.
If you’re weighing a repair against a replacement door, it’s worth pricing the repair first. Many garage doors in Everett have plenty of life left after a spring replacement or a fresh set of rollers. Our team services LiftMaster, Chamberlain, Genie, Clopay, Amarr, Wayne Dalton, Craftsman, and Raynor equipment, so we know what a repair will hold up to and when a replacement really makes sense.
Common Mistakes to Avoid
- Spraying WD-40 on the springs. It’s a solvent, not a lasting lubricant, and in a damp climate it can leave the coils worse than they started. Use a proper garage door lubricant instead.
- Never looking at the coil gaps. Rust starts inside the spring gaps and is easy to miss if you only check the outside of the coil. Shine a light along the springs a couple of times a year.
- Assuming a new noise is normal. A grinding or popping sound that starts suddenly is your door telling you something changed. Have it checked before the noise becomes a failure.
- Over-lubricating the tracks. Excess lubricant collects grit, and grit wears rollers faster than dry metal. Light coats only.
- Skipping the bottom seal. A worn seal lets damp air into the garage and puts extra load on the door. It’s one of the easiest parts to replace.
- Forcing a stuck door. If the door won’t open, pulling it by hand can damage the opener, the springs, or both. Call a technician instead.
- Trying to tighten or adjust a spring. Springs are under extreme tension and are the single most dangerous part of the system. This is a technician’s job, every time.
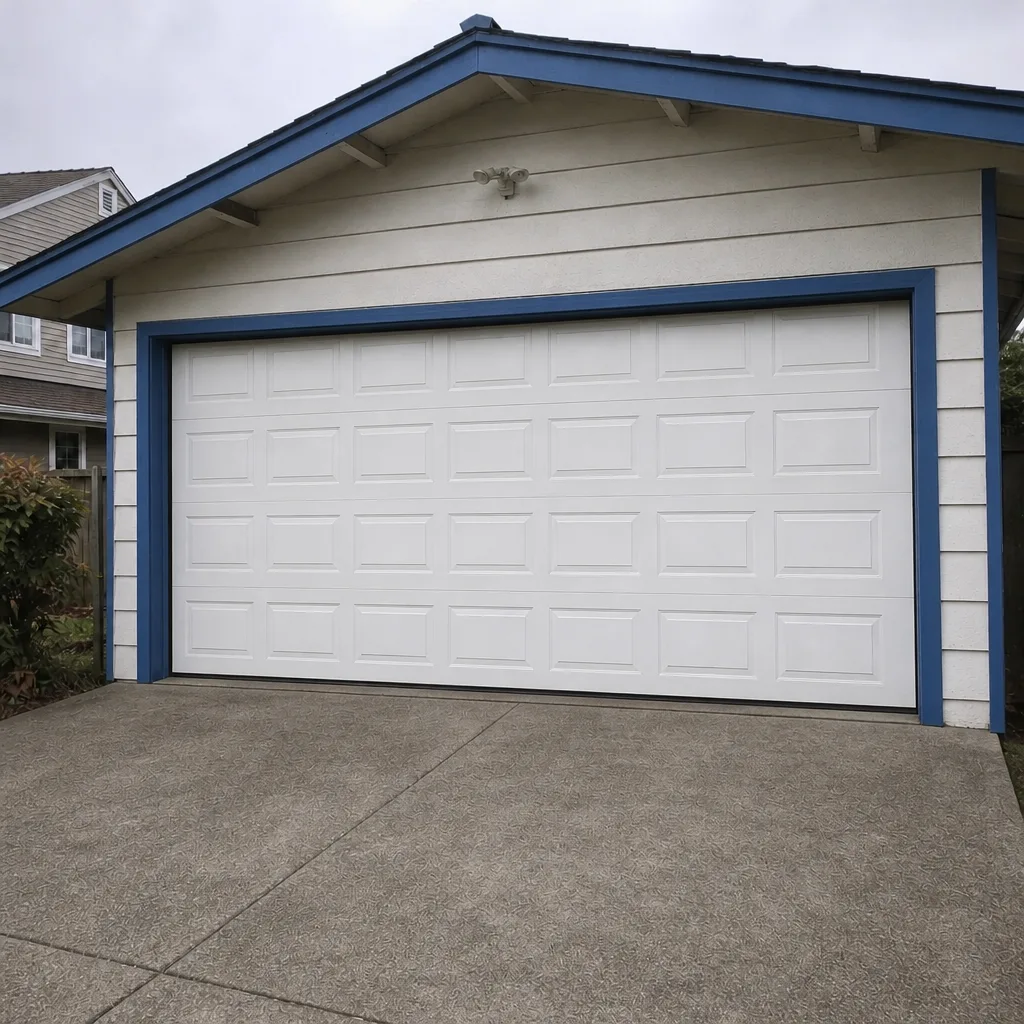
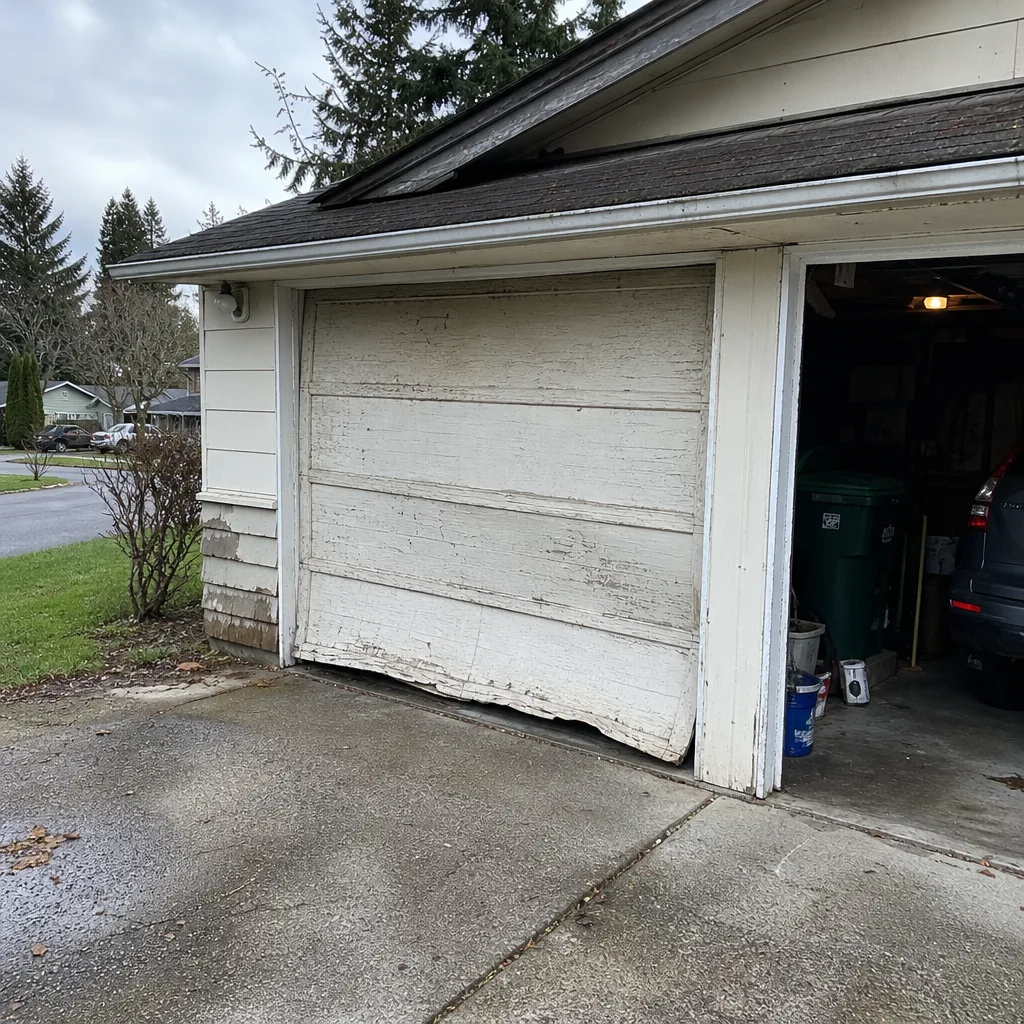
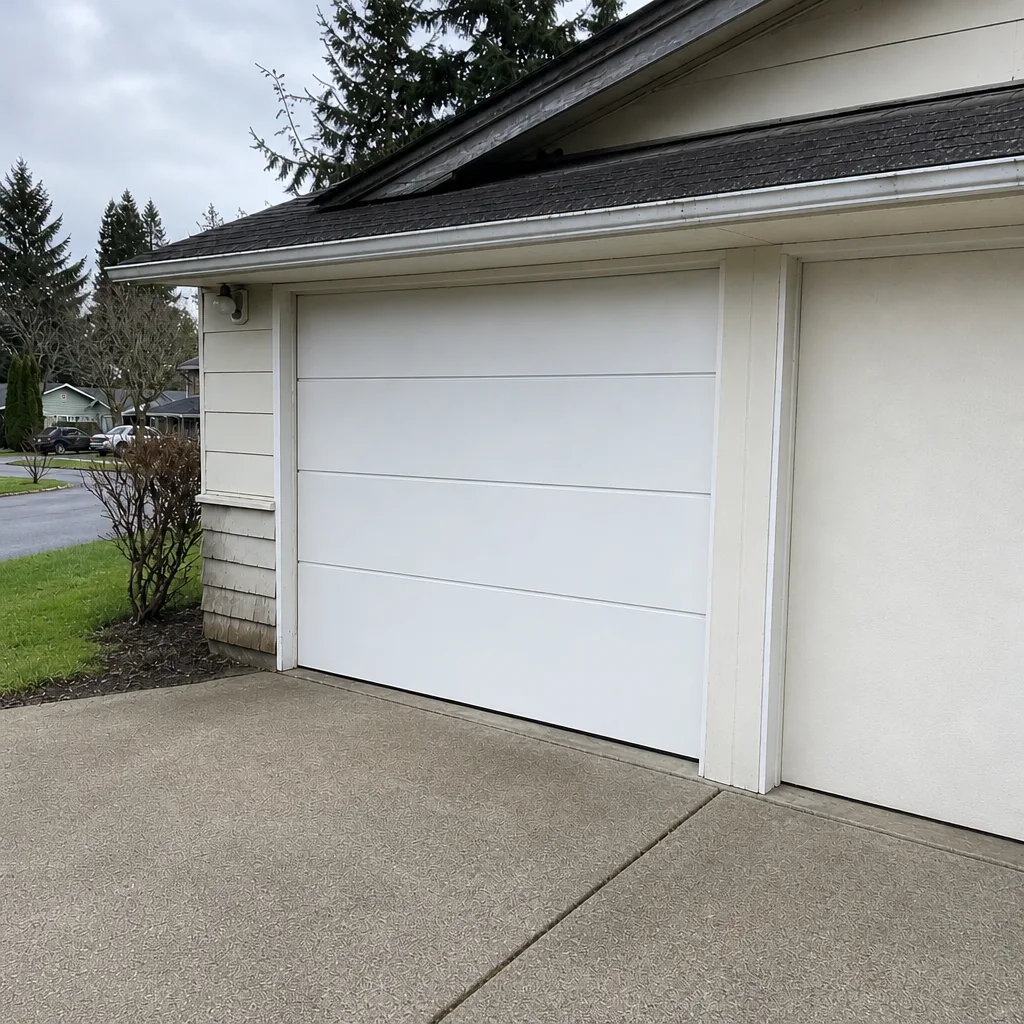
See the difference
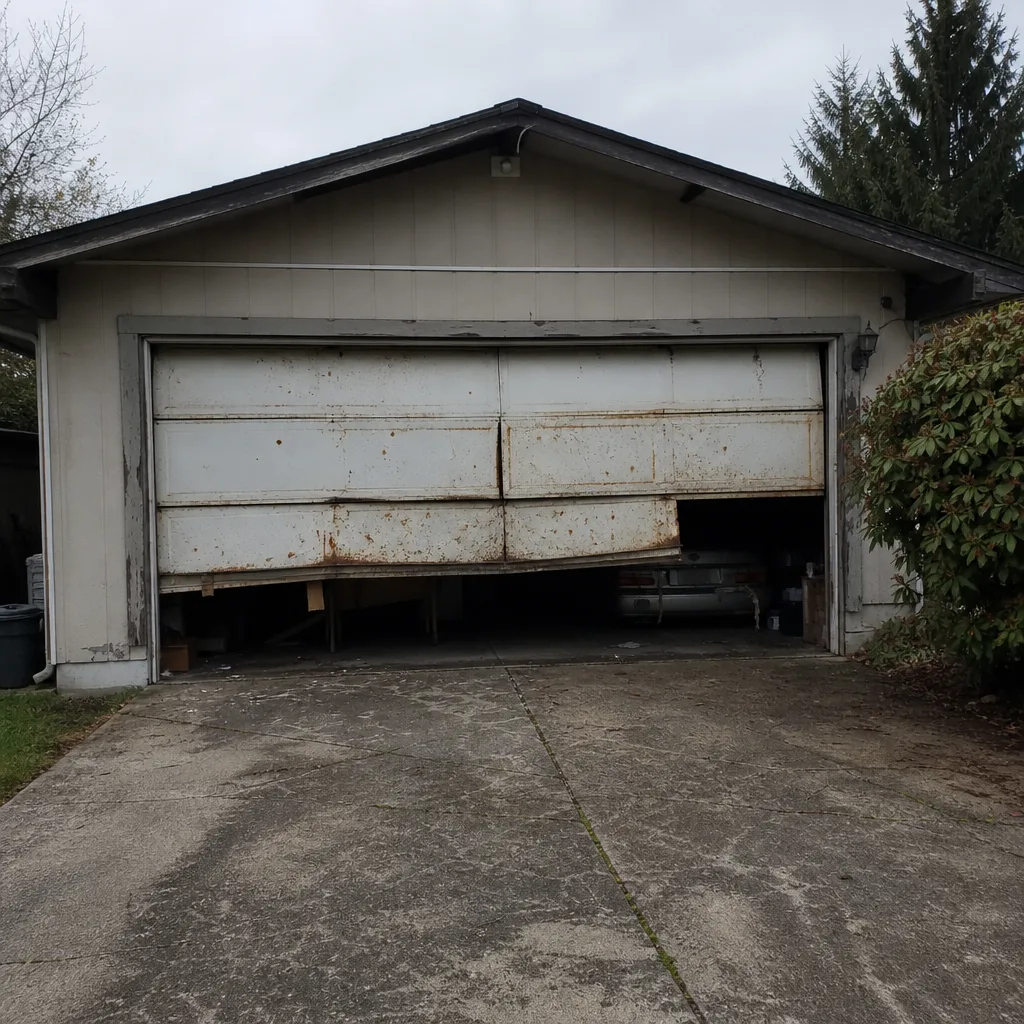 Before
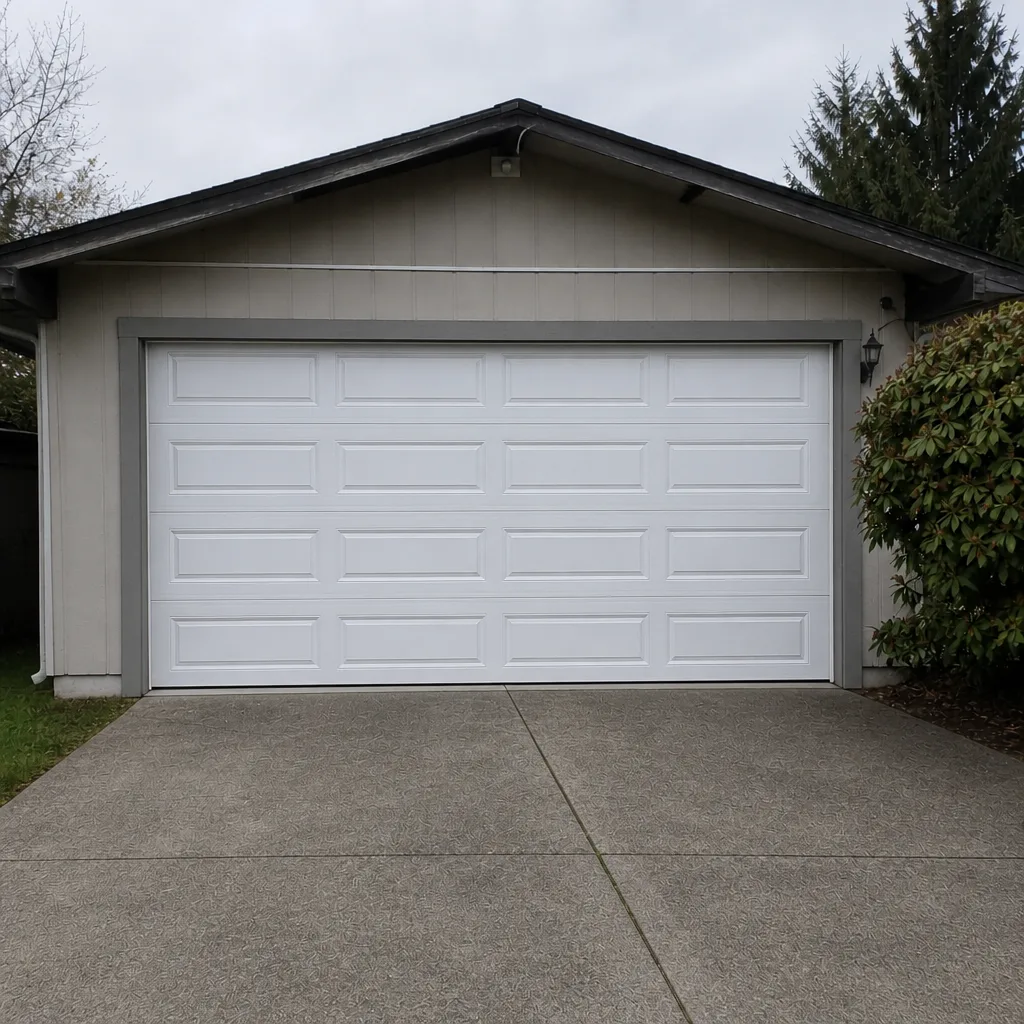 After
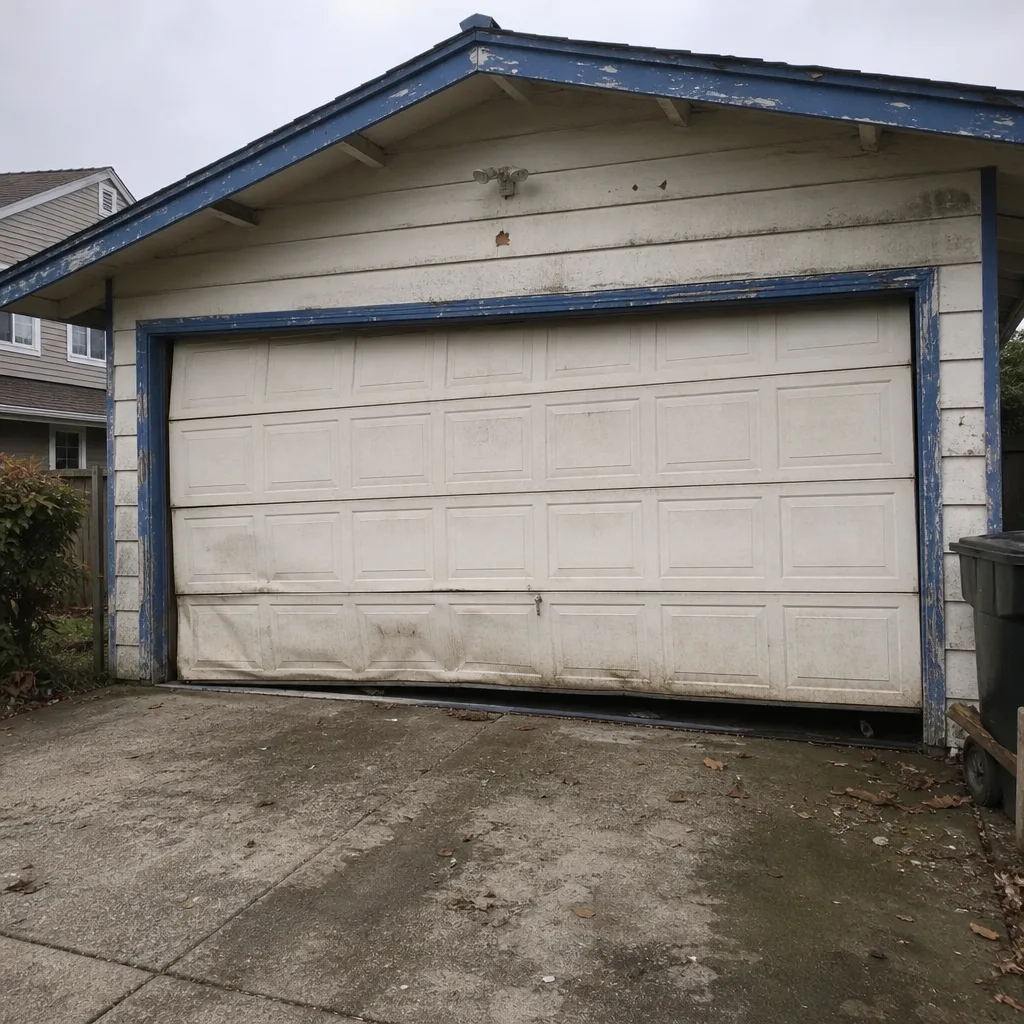 Before
 After
 Before
 After
When to Call a Professional
Call a professional any time a spring looks broken, a cable looks frayed, or the door stops opening more than a few inches. Call if you hear a loud pop from the door, if it comes down crooked, or if the motor sounds strained after you’ve lubricated and tested it. Call if the safety sensor won’t stay aligned or if the door fails the obstruction test. This list matters because springs and cables do real harm when they let go. Oasis Garage Door Repair offers free estimates in Everett. Call (833) 427-9172 and we’ll take a look. We answer 24/7, and fast dispatch from 7am to 7pm, Sunday through Friday.
Frequently Asked Questions
Once a year for a full professional inspection, and every three months for basic DIY maintenance like lubrication and track cleaning. The wet climate makes small checks more valuable here than in drier places, so the monthly items on the list are worth the five minutes. Calling (833) 427-9172 gets you a free estimate for anything the inspection turns up.
Light lubrication of the outside of the spring coils is fine. Adjusting, removing, or replacing a spring is never safe to do yourself, because the spring is under extreme tension. If you ever see a gap in the coil or deep rust, stop and call a professional. Call (833) 427-9172 to have it checked.
Damp air causes metal parts to tighten and lubricant to stiffen, which often shows up as extra noise on cool mornings. Lubricating the hinges, rollers, and tracks usually helps. If the noise sounds more like a grind or a pop, have it checked before it turns into a spring or cable failure. Estimates are free, so calling (833) 427-9172 costs nothing.
No. A garage door spring carries enough stored energy to cause serious injury, and there’s no safe way to release or re-tension it without the right tools and training. This is one of the clearest technician-only jobs on the list. Call (833) 427-9172 and we’ll take care of it.
It can, mostly by speeding up rust on springs, roller brackets, and cable ends. That’s why the moisture checklist in this guide focuses on the coil gaps, brackets, and bottom seal. Catching rust early keeps those parts alive longer. A professional inspection once a year catches what a visual check can’t. Call (833) 427-9172 for a free estimate.
A maintenance visit is a scheduled professional inspection of the springs, cables, balance, and opener, with adjustments made along the way. A repair call is for a specific problem that’s already started, like a broken spring or a door that won’t close. Both are priced by a written estimate before any work begins. Call (833) 427-9172 to book either one.
The Bottom Line
A good maintenance habit for a garage door in Everett is small, regular, and focused on what actually fails first in the wet. Check the bottom seal, roller brackets, and cable ends monthly. Lubricate lightly every three months with a proper product, not WD-40. Test the opener’s balance and safety features on the same schedule. Save the spring and cable work for a technician, because that’s where the danger lives. Do this and the door mostly stays quiet, moves smoothly, and gives you years of reliable service before anything major needs replacing. When something does need a closer look, the team at Oasis Garage Door Repair is one call away.
Contact Us
If your garage door is making a noise you don’t recognize, or a part on this list looks past its prime, call Oasis Garage Door Repair at (833) 427-9172 for a free estimate. We work on LiftMaster, Chamberlain, Genie, Clopay, Amarr, Wayne Dalton, Craftsman, and Raynor equipment, and we handle repair, opener service, and full installation under one name. We answer 24/7, and fast dispatch from 7am to 7pm, Sunday through Friday. Every price is quoted and agreed before any work starts, so you’ll know the number before the work begins.
Written by the team at Oasis Garage Door Repair.