
Last updated November 15, 2026
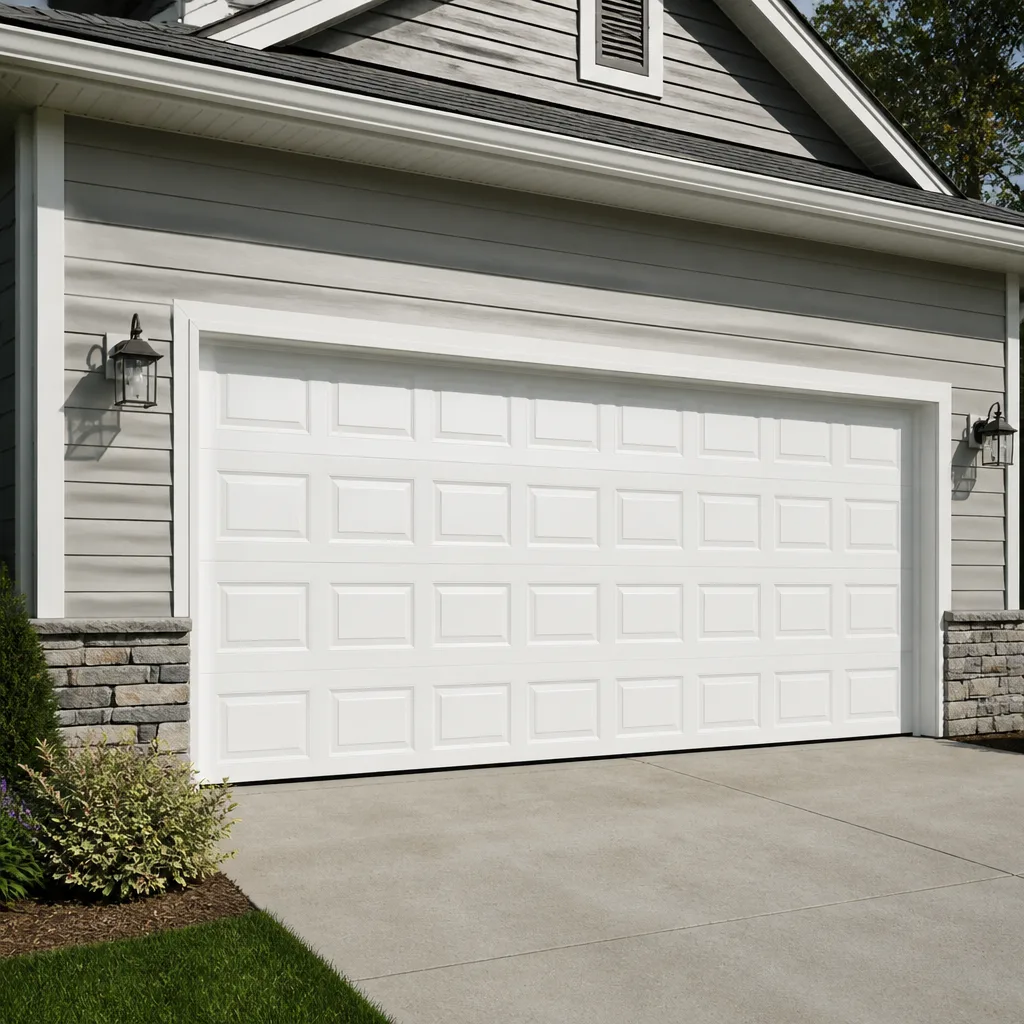 Raised-panel steel
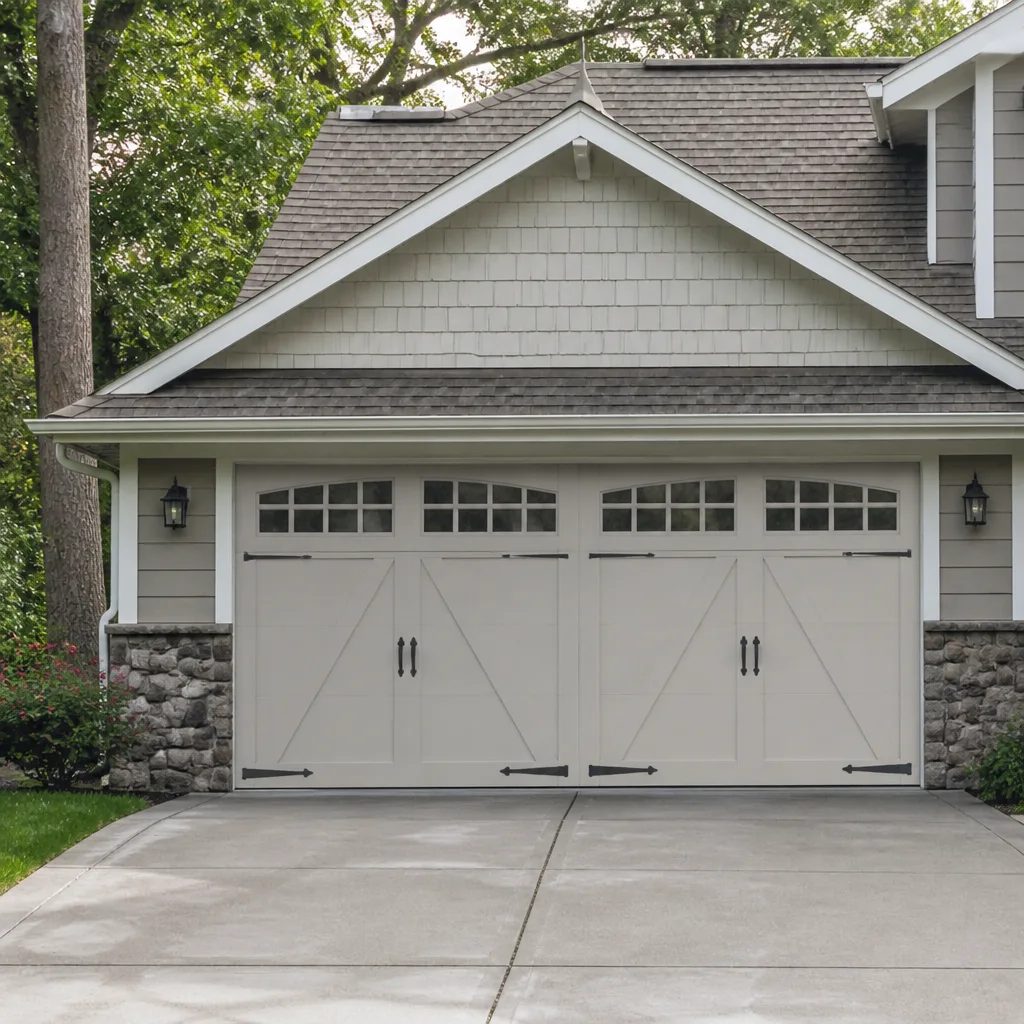 Carriage house
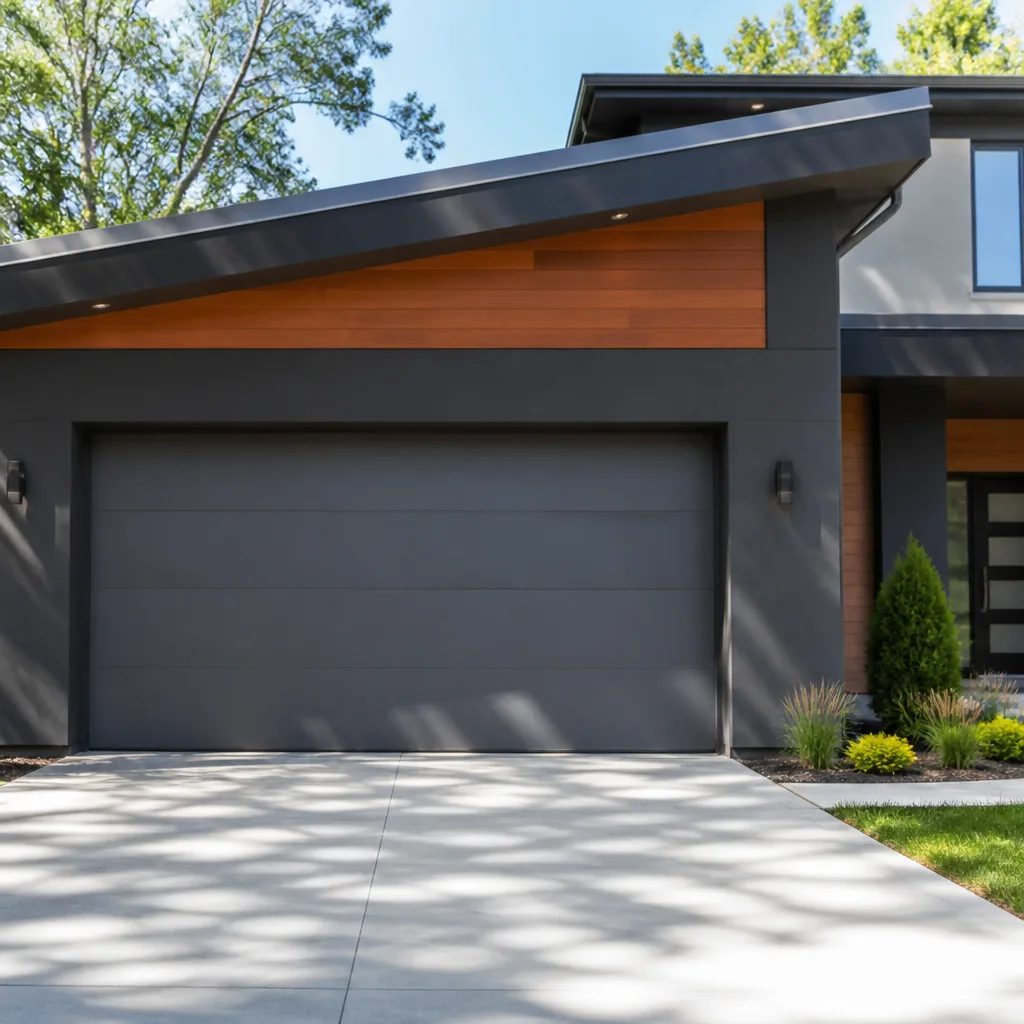 Modern flush
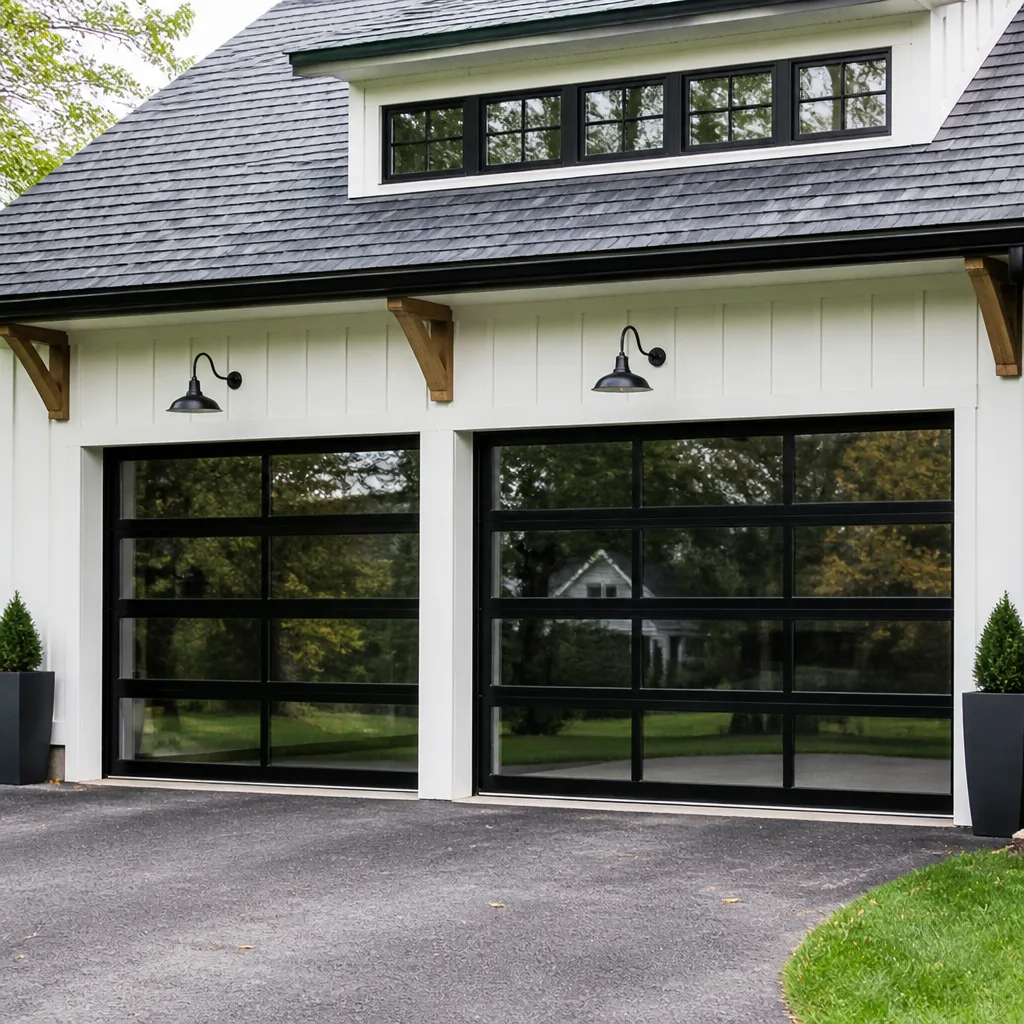 Full-view glass
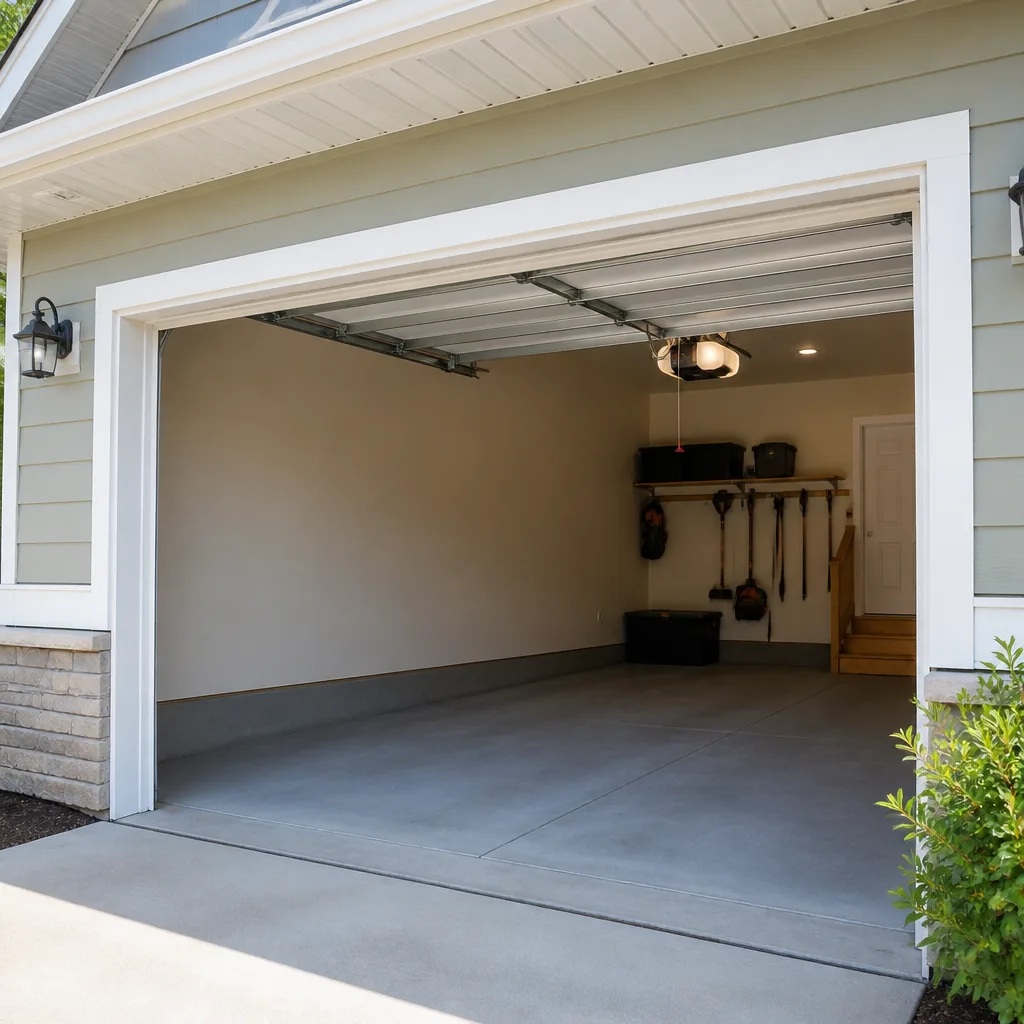 LiftMaster openers
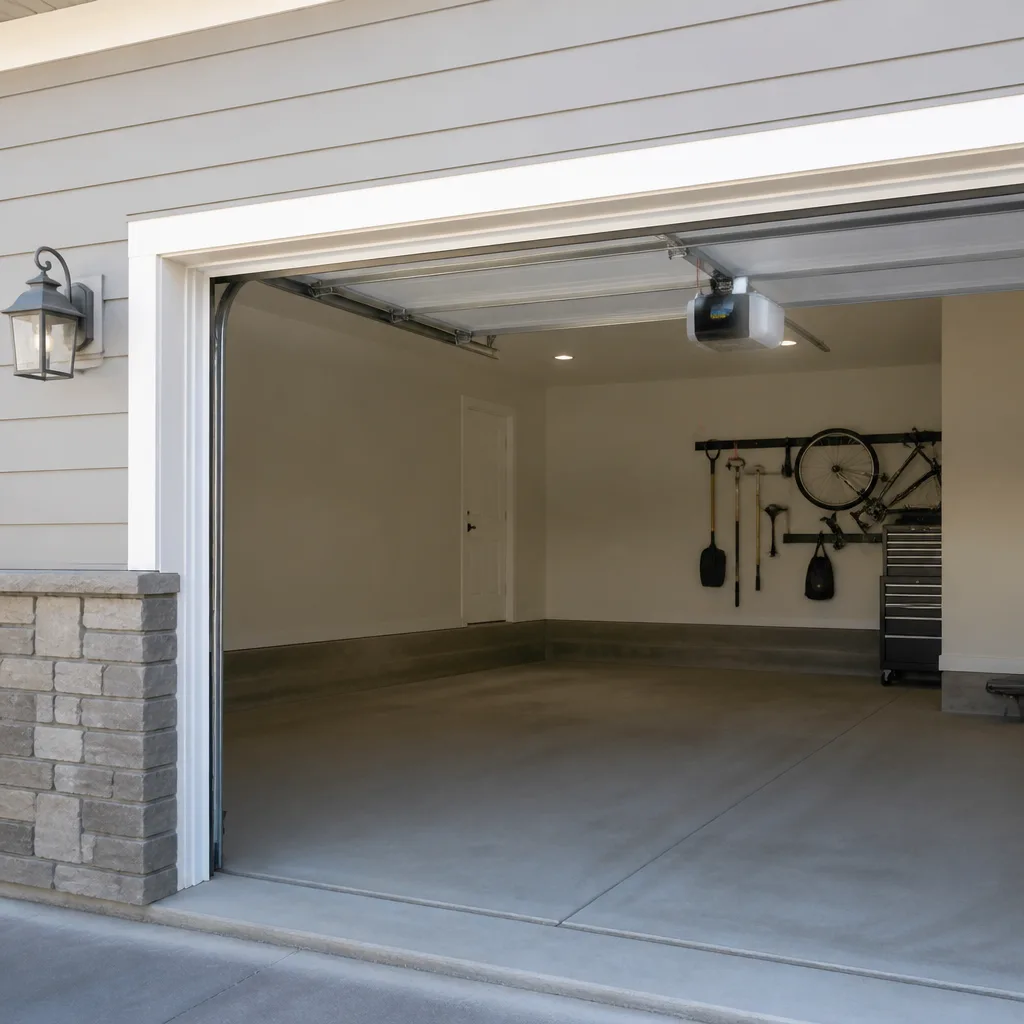 Chamberlain openers
Full 25-point door and opener safety check with every visit - springs, cables, rollers, tracks, and your LiftMaster or Chamberlain opener included
You get a price before we start. It does not change when the pro arrives.
Get your free estimateGarage Door Permits, Codes & Inspections in Everett, WA: What You Need to Know
If your contractor told you “we don’t need a permit for this” without asking about your header configuration or whether you’re changing the rough opening size, that’s not reassurance. That’s a gap in their process. Most homeowners in Everett assume a garage door swap is permit-free, and for a straight panel-for-panel replacement it usually is. But the moment the work touches the structure of the opening, changes its dimensions, or lands on a newer home with specific egress requirements, you’ve crossed into permit territory that a lot of contractors never take the time to explain. This guide covers the actual thresholds, what inspections look for, and how unpermitted work follows a house long after the door is hung.
Quick Answer
In Everett, swapping a garage door for another door of the same size in the same opening typically doesn’t require a building permit, but changing the rough opening size, cutting or modifying the header, adding structural framing, or altering the wall assembly does. New construction and additions always require permits, and any work touching structural members requires review by the City of Everett building department. For electrical work related to a new opener circuit, a licensed electrician handles the permitting. When in doubt, ask the city directly before the door comes off the tracks.
Styles & brands we work with
- Raised-panel steel
- Carriage house
- Modern flush
- Full-view glass
- LiftMaster openers
- Chamberlain openers
Table of Contents
- What triggers a garage door permit in Everett?
- New construction vs. replacement: why the rules differ
- Washington State energy code and your garage door
- What happens during a garage door inspection
- How unpermitted work affects insurance and home sales
- Do you need a permit for a new garage door opener?
- How Everett’s climate shapes door and opening decisions
- When to call a professional
What triggers a garage door permit in Everett?
The clearest answer we can give: a permit is triggered by structural change, not by the door itself. Hanging a new Clopay or Amarr door on the existing tracks, in the same opening, at the same dimensions, is a maintenance and replacement task. Cutting into the framing around that opening is construction work, and construction work in Everett needs a permit. That distinction matters because it’s the one most often glossed over in a sales conversation.
These scenarios almost always require a permit from the City of Everett:
- Changing the rough opening size. Widening or heightening the opening for a larger door means cutting into the wall and re-framing. That’s structural work, full stop.
- Header modification or replacement. The header is the beam carrying the load above the opening. Shortening, notching, or replacing it requires engineering and a permit.
- Converting the garage. Turning a garage into a living space, or adding a door where there wasn’t one, triggers a full permit review with egress, insulation, and structural checks.
- New construction or an addition. Any door installed as part of new build or an addition is permitted with the rest of the project.
- Adding or relocating an electrical circuit. A new opener on a circuit that doesn’t exist yet means an electrical permit, usually pulled by a licensed electrician.
What usually doesn’t require a permit: replacing a door of the same size, replacing springs or cables, replacing an opener on an existing circuit, and general repair. If you’re unsure which category your job falls into, the safest move is a quick call to the city’s building department before anyone orders a door. Getting this wrong is expensive to unwind.
New construction vs. replacement: why the rules differ
Permit requirements for a garage door are tied to the context of the whole project, not just the door. In new construction, the entire structure goes through plan review, and the garage door and its opening are part of that review. An inspector will look at the opening during framing, and the door is part of the final walkthrough. Nothing about that process is negotiable, and it applies whether the door is a basic steel model or a higher-end Wayne Dalton.
In existing structures, the calculation changes. When you’re replacing a door in a home that already has a garage, the question becomes whether your work alters anything besides the door:
- Same door size, same opening, same tracks: no permit required in the typical case. This is the vast majority of replacement work we help Everett homeowners with.
- Same opening, upgraded door: usually no permit, unless the new door is heavier enough to require new hardware and reinforcement that touches framing. Ask your installer.
- Different door size, same opening: possible with trim modification, and typically no permit if no framing is cut. Worth confirming with the city.
- Different opening size or header work: permit required. Engineering may be required for header changes.
- Garage conversion or extension: full permit, with plan review and multiple inspections.
We’ve seen homeowners in Everett try to shortcut a conversion or opening change and end up redoing the work after a sale inspection flagged it. The savings never hold up. If your job crosses from replacement into structural territory, slow down and get the permit. For straightforward garage door repair without framing changes, no permit is usually involved.
Washington State energy code and your garage door
Washington State’s energy code treats the boundary between your garage and the rest of the house differently than the boundary between the garage and the outdoors. That distinction has a direct effect on what kind of door makes sense, and whether insulated door requirements apply to your project.
When your garage is unconditioned, meaning it isn’t heated or cooled like the rest of the house, the wall and ceiling between the house and the garage are the thermal boundary. The garage door itself is not considered part of the conditioned envelope, and the energy code puts little or no insulation demand on the door. That’s the typical setup for most garages in the Everett neighborhoods where homes are older and the garage has always been cold.
When the garage is conditioned or semi-conditioned, the door becomes part of the envelope. This happens when a garage has been converted to living space, when a heated workshop is inside the garage, or when a new home is designed with a sealed, insulated garage. In those cases, the door’s insulation value and the air-sealing around it are part of what the energy code cares about, and a permit review will typically check the door assembly against the envelope requirements.
Practically, that means:
- Replacing an existing door on an unconditioned garage does not usually require a specific door insulation level. Insulated doors still help with noise and comfort.
- New construction with a conditioned garage means the door choice and its installation details become part of the permitted energy review.
- Converting a garage to living space requires the envelope, including any exterior doors, to meet current code, which is a much bigger project than replacing a door.
The city’s building department is the right source for the exact requirement that applies to your project. We can tell you how a door performs in the space, but we always point homeowners back to the city for the compliance call.
What happens during a garage door inspection
If your project requires an inspection, knowing what the inspector will actually look at helps you avoid a re-inspection. In our experience, the walkthrough is more straightforward than homeowners expect, but the details matter and small misses cost time. Here’s how it typically goes when the door is part of a permitted project.
- Scheduling: your permit includes a list of required inspections. Framing inspection happens before drywall goes up. Final inspection happens when the door is fully installed and operating.
- Opening and framing: the inspector checks the header size, the fastening, and whether the opening matches the approved plans. Any change from plan requires a revision.
- Anchoring and hardware: the tracks, brackets, and reinforcement must be fastened to structure, not to drywall or siding alone.
- Safety features: the photo-eye sensors must be in place and stopping the door on obstruction. For most residential doors, the opener must reverse on contact with an object. This is a safety inspection, and it gets attention.
- Labeling: the door and opener should carry their manufacturer labels as required. For an opener, the safety label is critical.
- Clearance and operation: the door opens and closes fully, stays balanced in the middle, and the opener force setting is within spec.
- Final sign-off: once everything checks, you get final approval and the permit is closed. Keep that paperwork; you’ll want it at resale.
For garage door opener repair on an existing opener, no inspection is involved. Repairs to an installed, previously approved opener don’t trigger a permit or inspection unless you’re replacing the opener and pulling an electrical permit for new wiring.
How unpermitted work affects insurance and home sales
This is the part that follows you. Unpermitted structural work on a garage opening, or an unpermitted garage conversion, becomes a problem at three moments: an insurance claim, a home sale, and a refinance appraisal. The trouble is that nothing about an unpermitted header looks any different from a permitted one until a professional looks at the paperwork or the structure.
For insurance, the issue is disclosure and coverage. A typical homeowner’s policy expects the home to be built and modified per code. If structural work on the garage was done without a permit and a later problem traces back to it, the insurer may narrow what it covers or decline a portion of a claim. We’re not insurance advisors, and we always tell homeowners to talk to their carrier directly. But the pattern we’ve seen is that having the permit and the final inspection sign-off makes an insurance conversation simpler, not more complicated.
For resale in Washington, the seller’s disclosure form asks about permits and whether work was done with the required approvals. A buyer’s inspector will note an altered opening or a garage-to-living-space conversion, and the buyer’s agent will ask for permits. Missing permits become a negotiation point, sometimes a price reduction, sometimes a request that the seller get retroactive approval before closing. Most cities allow a path to a permit after the fact, but it often involves opening walls to show what’s actually there.
For a refinance or appraisal, unpermitted additions and conversions get flagged as non-conforming. The appraiser needs permits to count the square footage.
Our advice is simple. If your job falls into structural territory, get the permit before the work starts. If you’re buying a home in Everett and something about the garage opening or a converted space looks off, ask for the permit history. It’s a fair question and an important one.
Do you need a permit for a new garage door opener?
In most cases, replacing an existing opener with a new opener doesn’t require a permit, because you’re swapping a device on a circuit that already exists and was already inspected. The exception is when the project involves new electrical work. If there’s no outlet where the opener needs to be, or if the opener circuit needs to be added or relocated, a licensed electrician handles that work and pulls the electrical permit. We don’t do electrical wiring, and we won’t pretend the electrical portion is a door problem.
The self-installation question comes up often. A new Genie or LiftMaster unit can be installed by a capable homeowner, and the door will go up and down. But we’ve seen those installations cause more problems than they save, mostly because of the two things the installation manual doesn’t emphasize enough:
- Balance: a door that isn’t properly balanced puts the opener under load it wasn’t designed to carry. The opener fails early, and it’s the door’s springs that make it safe, not the motor. Springs, cables, and the torsion assembly are the parts where injuries happen, and that’s why we don’t give DIY steps for them. If your door is heavy, uneven, or won’t stay halfway open, get a professional. The spring system is where serious injuries happen.
- Safety reversal and sensor alignment: a poorly aligned photo-eye or force setting that’s too high is a safety problem, not just a convenience one. If the door doesn’t reverse on obstruction, a child or pet is at risk.
For a straight replacement on an existing setup, we work on LiftMaster and Chamberlain units, Genie and Craftsman, and we know their differences in programming, remotes, and smart-home integration. If your existing opener is on its last legs and you’re planning a replacement, the door itself usually doesn’t need a permit, but have the electrical lined up. Call (833) 427-9172 if you’d like a free estimate for the opener replacement. We answer 24/7.
How Everett’s climate shapes door and opening decisions
Everett’s wet winters and damp shoulder seasons have a real effect on how a garage door lives over time. The door faces wind-driven rain from a couple of directions depending on the house, and the opening around it takes the weather. When a garage is unconditioned, the inside of the door is often colder and wetter than the outside air because the concrete slab and the framing hold moisture. That’s why we see rust on steel doors at the bottom sections and swelling on wood or composite doors along the bottom rail and the side jambs.
For a door installed under a permit, the inspection is a point-in-time check. The weather is a long-run concern. A few practical things we look at when a door or its opening needs work:
- Bottom seal condition: the rubber seal kicks the rainwater out. A worn seal lets water reach the door’s bottom edge and the slab.
- Jambs and trim: wood jambs on the sides of the opening take the worst of the weather. Replacing them during a door project is cheaper than coming back to it later.
- Drainage at the apron: the concrete apron in front of the door should slope away. If it doesn’t, water pools at the threshold and the bottom of the door gets soaked.
- Ventilation in the garage: a garage that traps humid air makes every steel component work harder.
None of this is code enforcement. It’s practical. An inspector won’t flag a worn bottom seal, but a homeowner in Everett will notice it after the first heavy rain. Replacing a door with a well-sealed bottom and properly flashed trim is the low-drama choice. For homes in Everett, the general rule is to plan your door replacement for a dry stretch if the house allows it, and to keep the finished grade and drainage in mind.
Common Mistakes to Avoid
- Assuming all door replacements are permit-free. Door-for-door, same size, same opening: yes. Opening size changes and header work: no. The distinction lives in one question your contractor should ask before the work starts.
- Not asking about the rough opening. If someone quotes a door without measuring the rough opening and the header, they can’t know whether a permit is involved. Ask them directly. Their answer tells you a lot.
- Skipping the electrical permit on a new opener install. An electrician pulls this, not the door installer. If there’s no existing circuit, the install waits for the electrician.
- Converting a garage without permits. Turning a garage into living space is an envelope, egress, and structural project in Everett. It’s a permit-heavy job. Going without the paperwork is where the insurance and resale trouble starts.
- Not keeping the final inspection sign-off. Ten years later at a sale, that document matters. Keep it with your home records.
- Having an inspector discover a door that doesn’t reverse on obstruction. That fails the safety portion of any inspection. Test yours monthly: put a piece of wood under the door path and see if the door reverses.
- Choosing a heavier door without reinforcing the hardware. An Oasis Garage Door Repair technician will check the tracks and hinges against the door’s weight before installation. A five-minute check here prevents months of premature opener failure.
See the difference
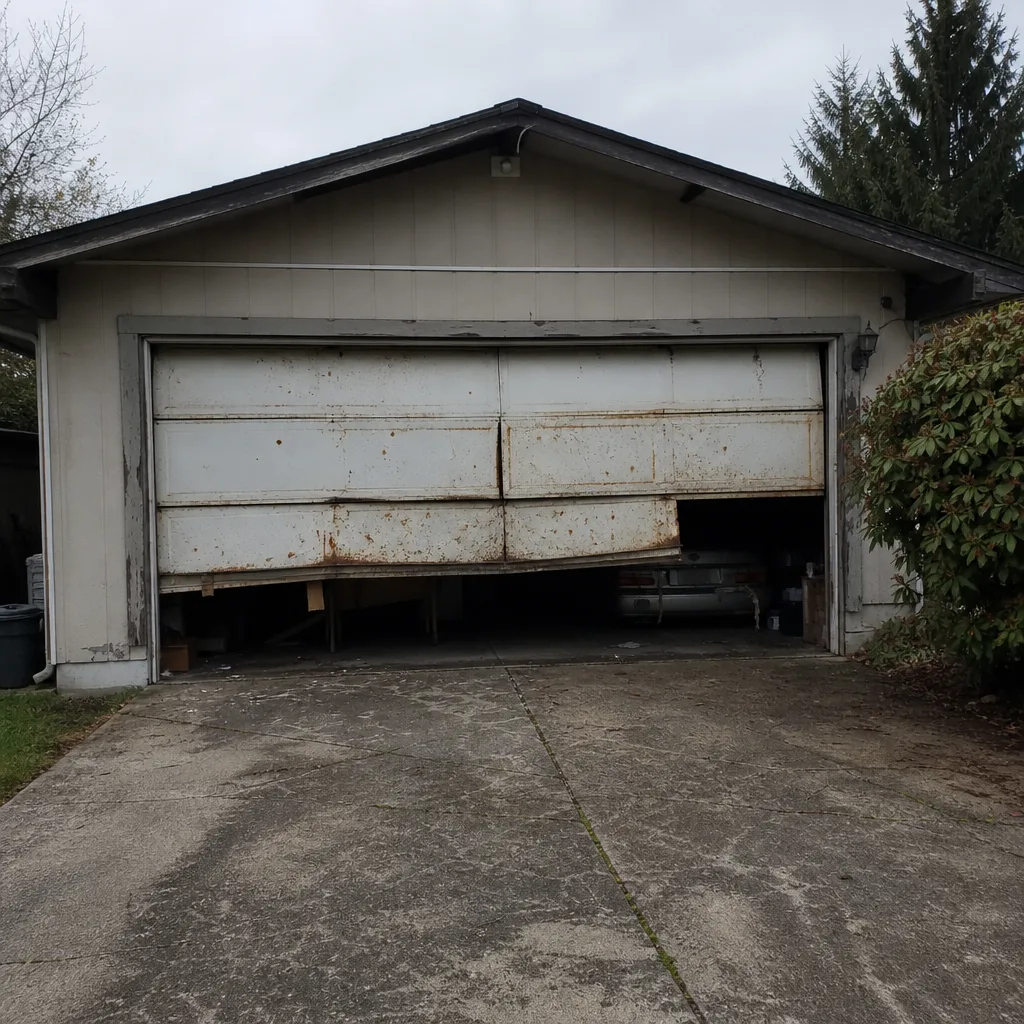 Before
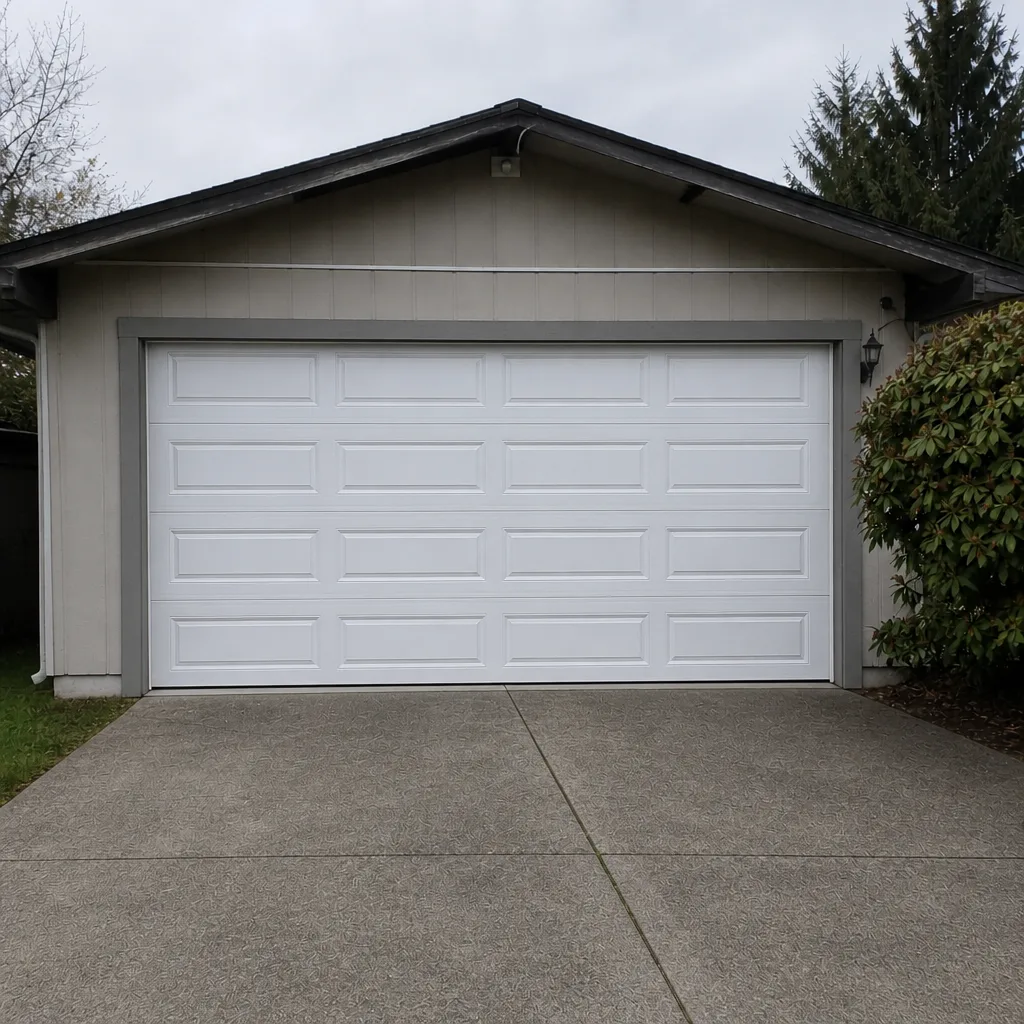 After
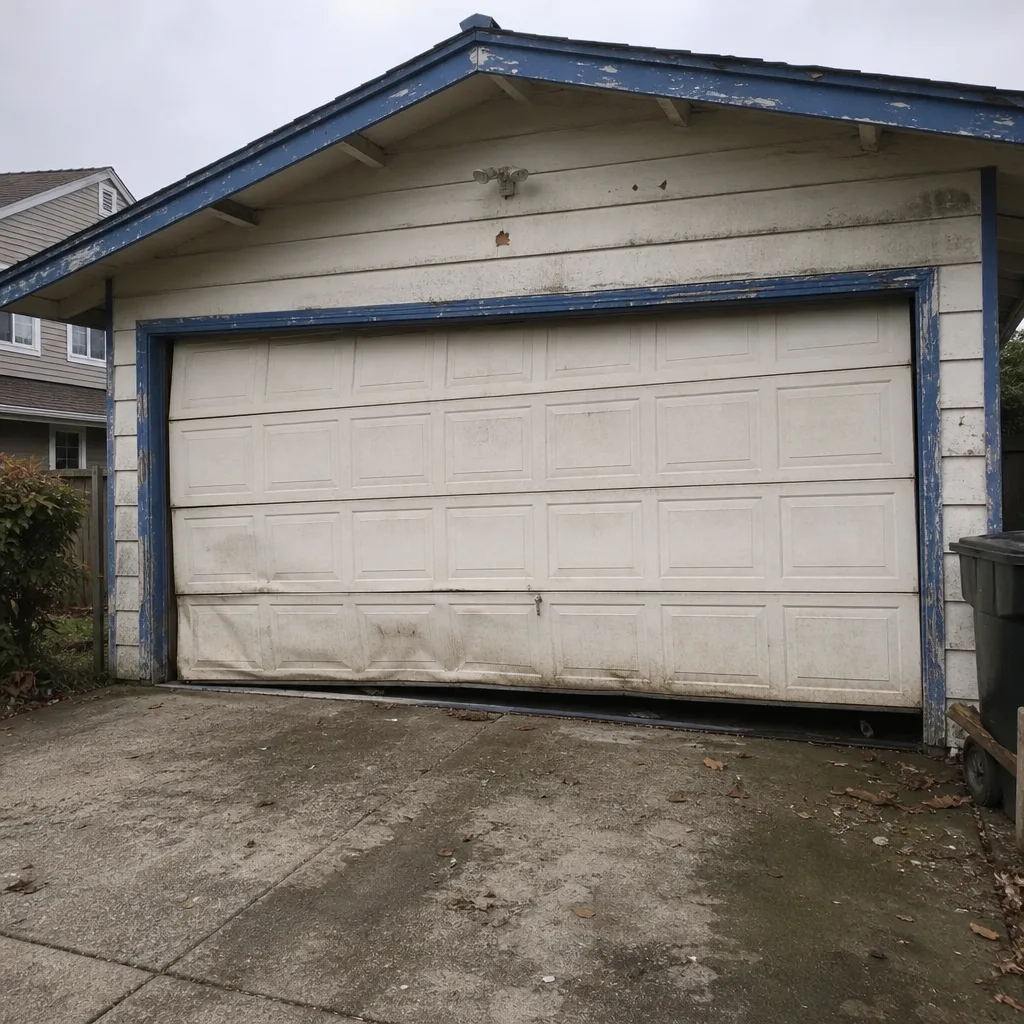 Before
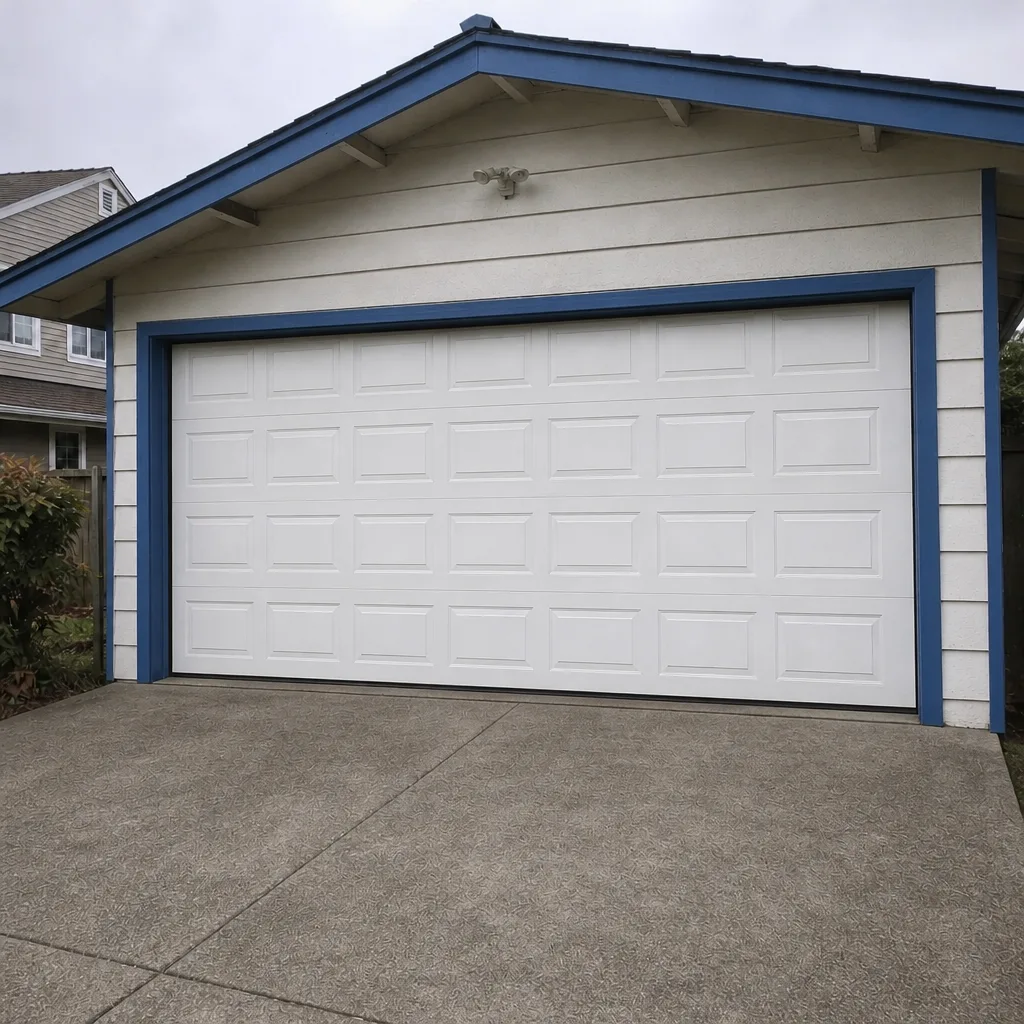 After
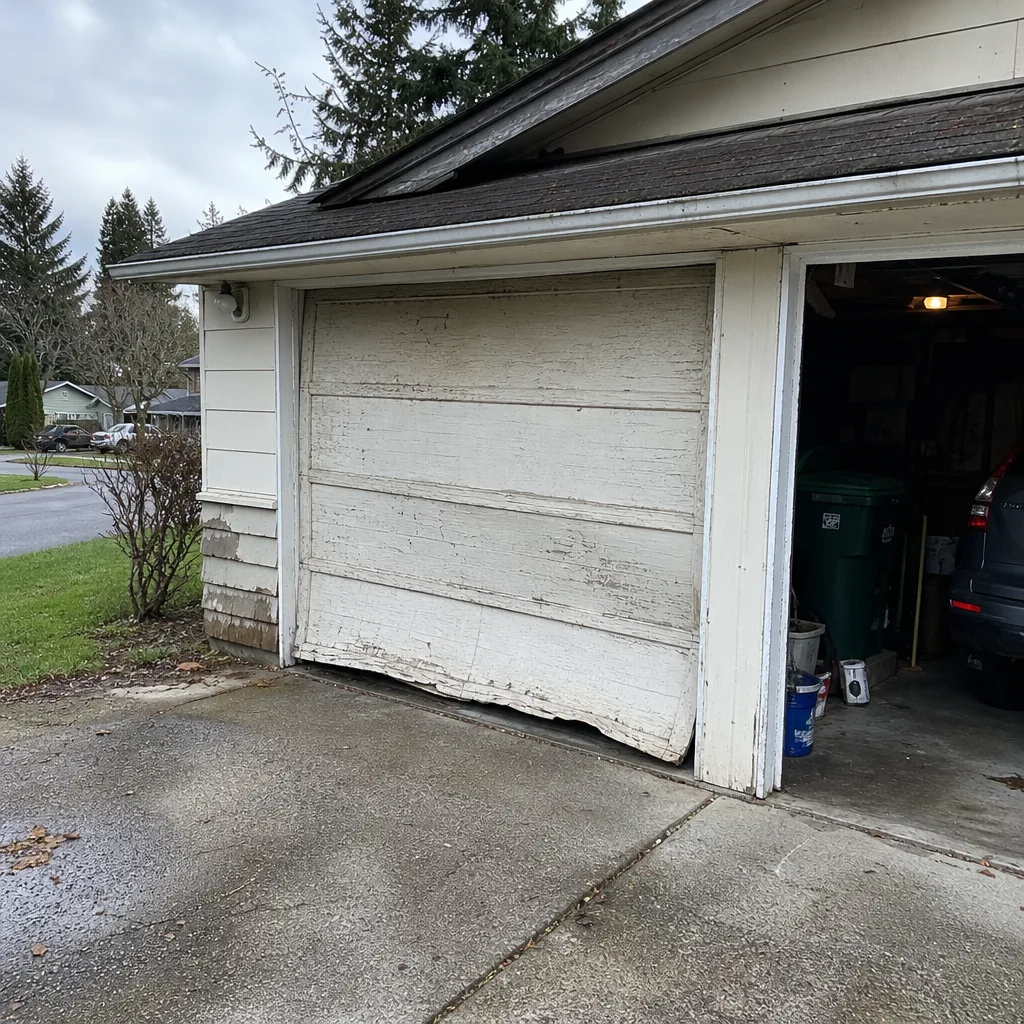 Before
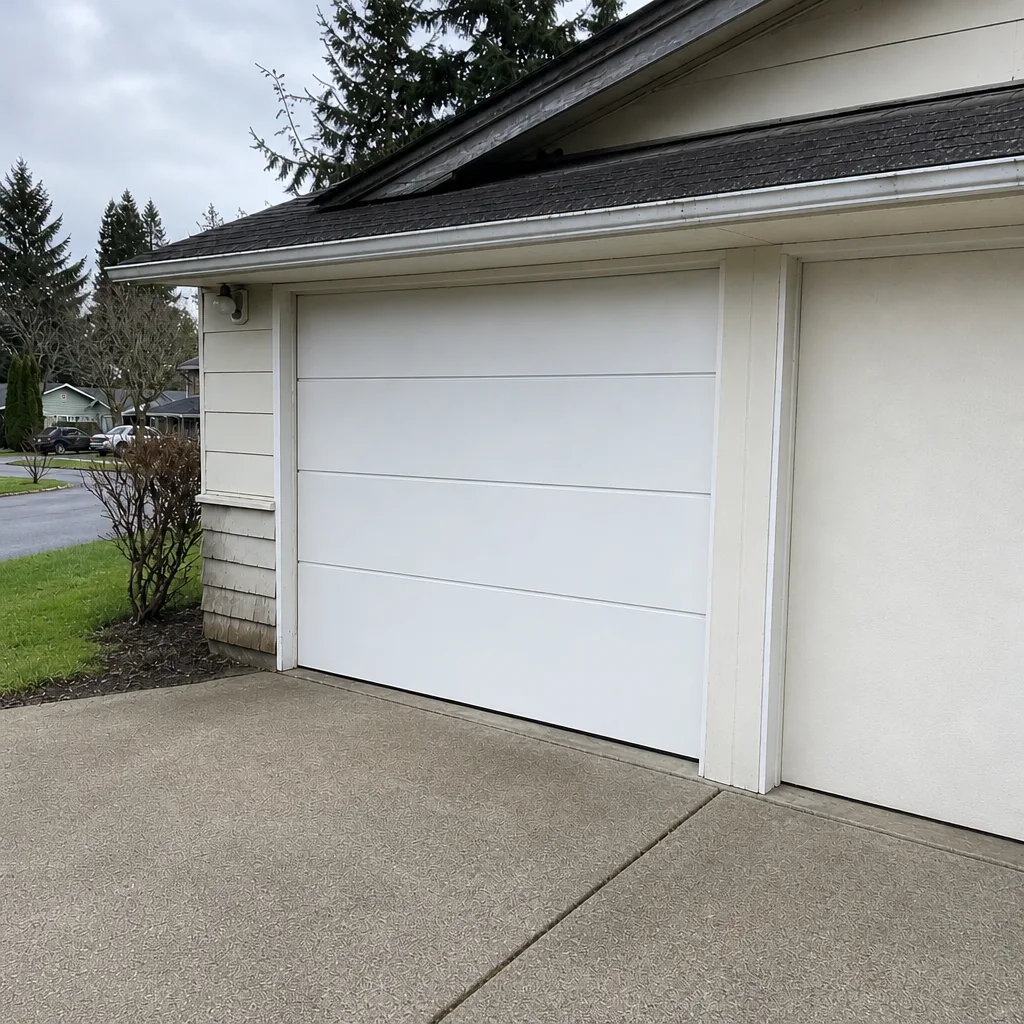 After
When to Call a Professional
Call a professional when the question is structural, when the spring system or cables are involved, or when the job requires a permit you’re not sure how to handle. The spring system is the part where serious injuries happen, and we don’t recommend DIY work on it. If your door is out of balance or won’t stay in the open position, stop using the opener and call. If you’re weighing a replacement and aren’t sure whether your job needs a permit, that’s the moment for a conversation, not a DIY attempt. We can work with your insurer, and we can walk you through what a typical project involves. Oasis Garage Door Repair offers free estimates in Everett, call (833) 427-9172. We answer 24/7, and fast dispatch runs from 7am to 7pm, Sunday through Friday. A call outside dispatch hours is booked into the next opening.
Frequently Asked Questions
No permit is typically required for a replacement door of the same size in the same opening. Changing the rough opening size, modifying the header, or altering the framing around the opening does require a permit from the City of Everett building department. If your project touches structure, plan for the permit before the door comes off.
Not usually for a replacement on an existing circuit. If new electrical wiring is needed, a licensed electrician pulls an electrical permit. For an opener replacement in Everett, call (833) 427-9172 for a free estimate, and we’ll tell you whether the job needs an electrician.
An inspection covers the opening’s framing and header, the fastening of tracks and reinforcement to structure, the door’s balance, the safety reversal and photo-eye alignment, and the manufacturer labels. Final inspection happens after install. Keep the sign-off for resale.
Permit fees are set by the City of Everett, so the exact number depends on the scope of the project. The city can quote the fee when you apply. Our estimates for the door work are free, and the written estimate sets the price for the installation itself.
It becomes a disclosure issue at sale, a question at an insurance claim, and a note on a refinance appraisal. Most cities allow retroactive permits, but that usually means opening up the structure to confirm it. Getting the permit before the work is simpler every time.
Not for a like-for-like replacement on an unconditioned garage. The energy code cares when the garage is conditioned or part of the envelope, and that applies mostly to new construction and conversions. The city’s building department gives the final answer for your project.
The Bottom Line
Garage door permits in Everett come down to one test: are you changing the door, or are you changing the opening? Door-for-door replacements usually don’t need a permit. Opening changes, header work, conversions, and new construction do. Washington’s energy code adds a layer when the garage is part of the conditioned envelope, and a final inspection sign-off is a document worth keeping. Unpermitted work follows a house into insurance claims and resale disclosures, and it’s expensive to unwind. The calm approach is to ask the permit question early, get a written estimate, and let a professional handle the spring system and opener electronics. Your brand, our expertise: we work on LiftMaster, Chamberlain, Genie, Clopay, Amarr, Wayne Dalton, Craftsman, and Raynor, and our technicians have up to 10 years of experience. If you want a straight answer on your project, call (833) 427-9172.
Written by the team at Oasis Garage Door Repair.