
Last updated November 15, 2026
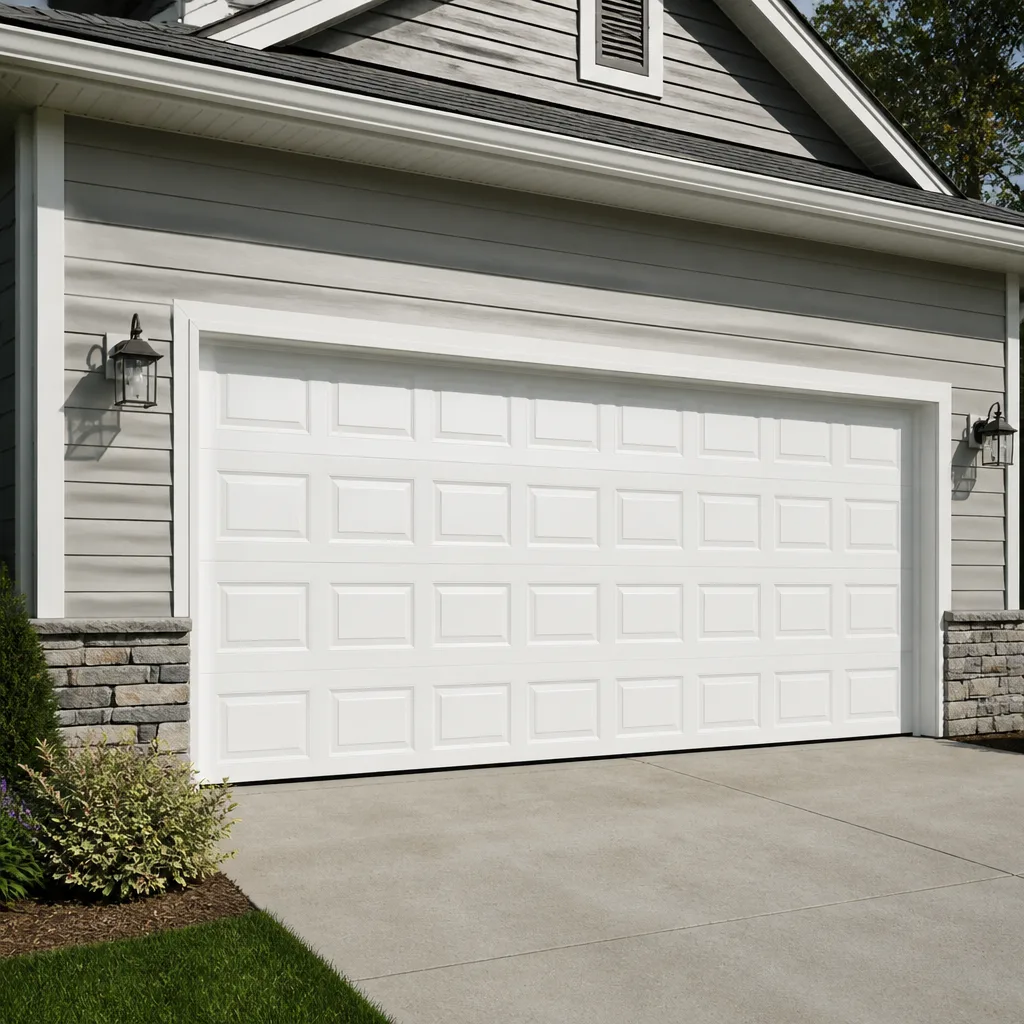 Raised-panel steel
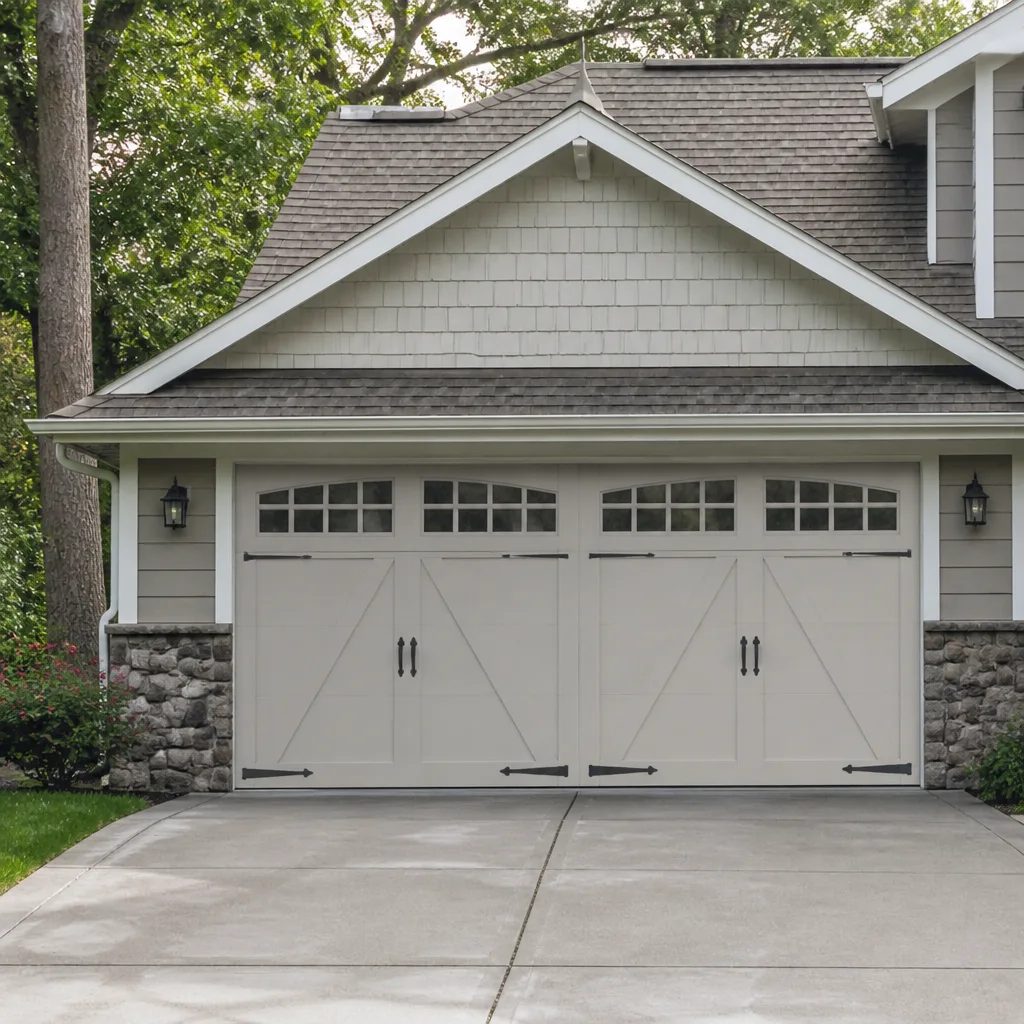 Carriage house
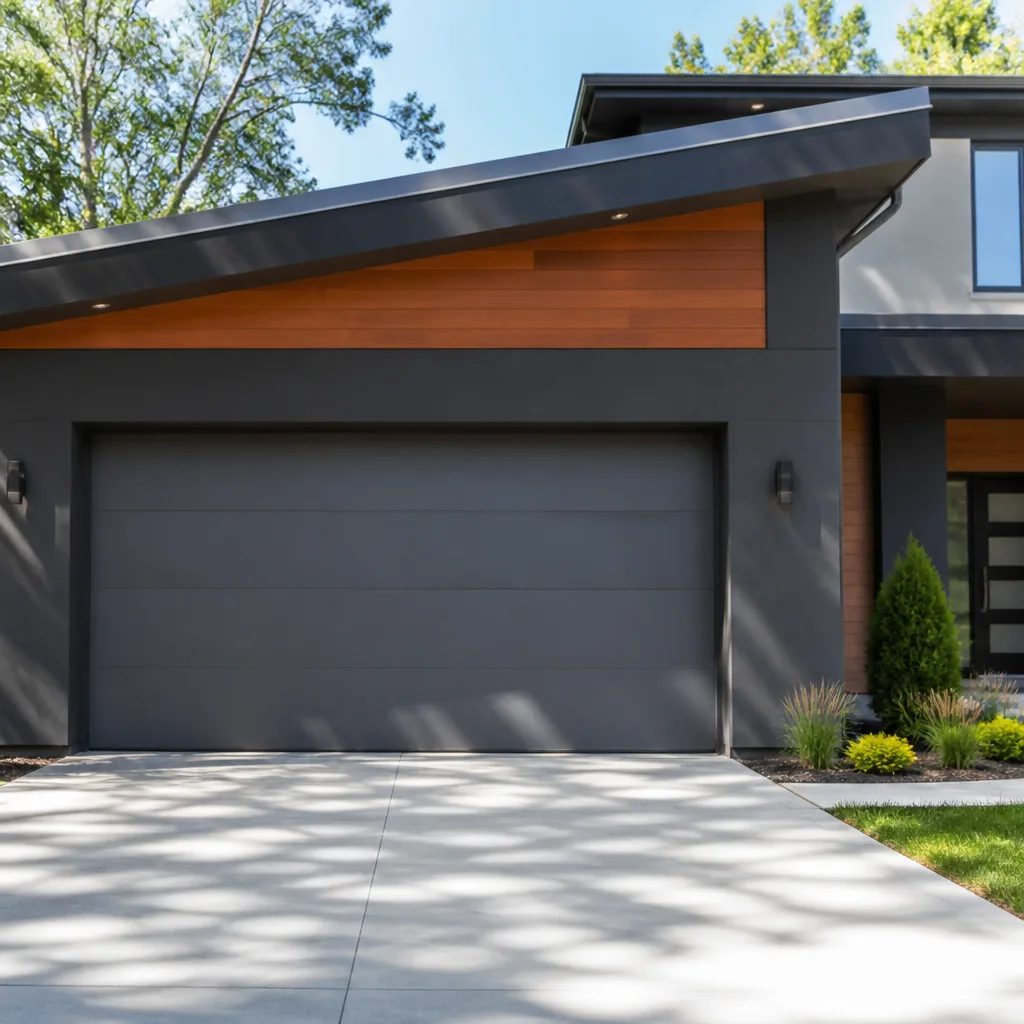 Modern flush
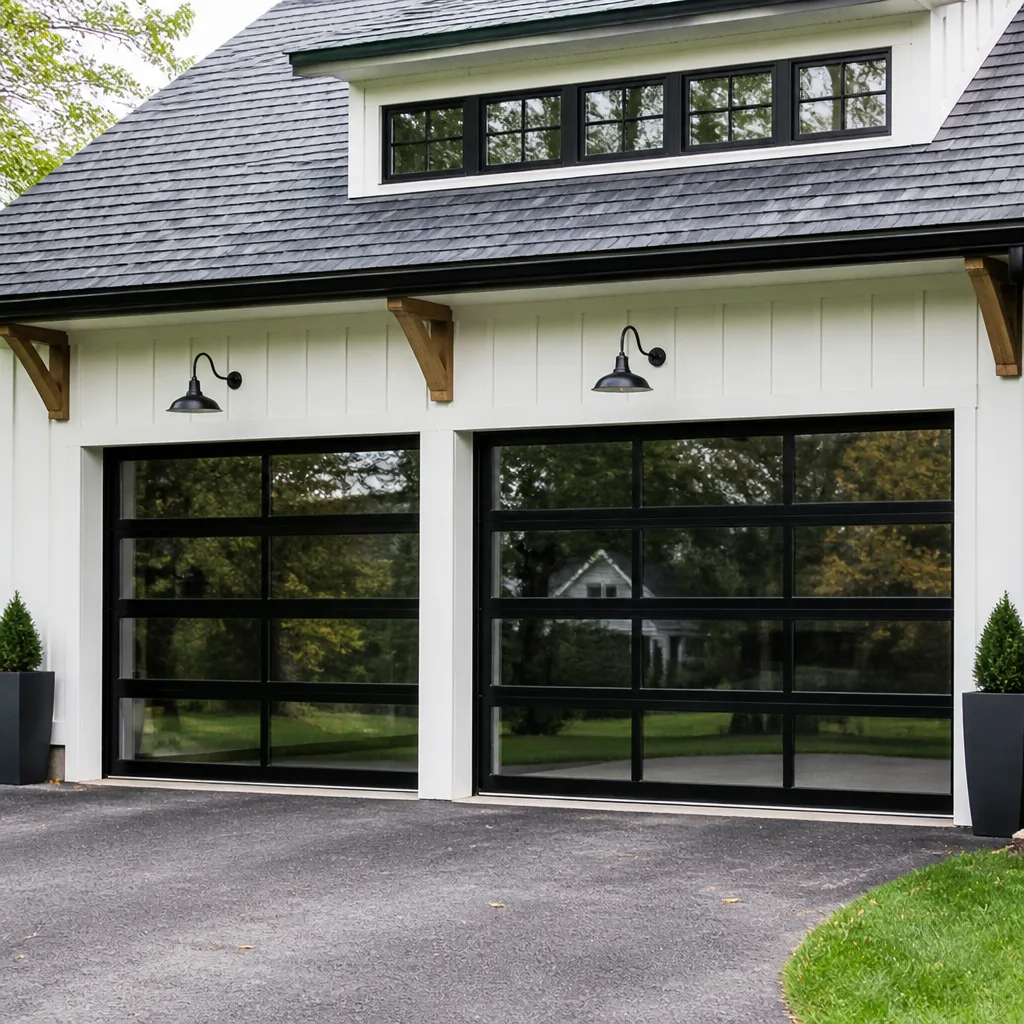 Full-view glass
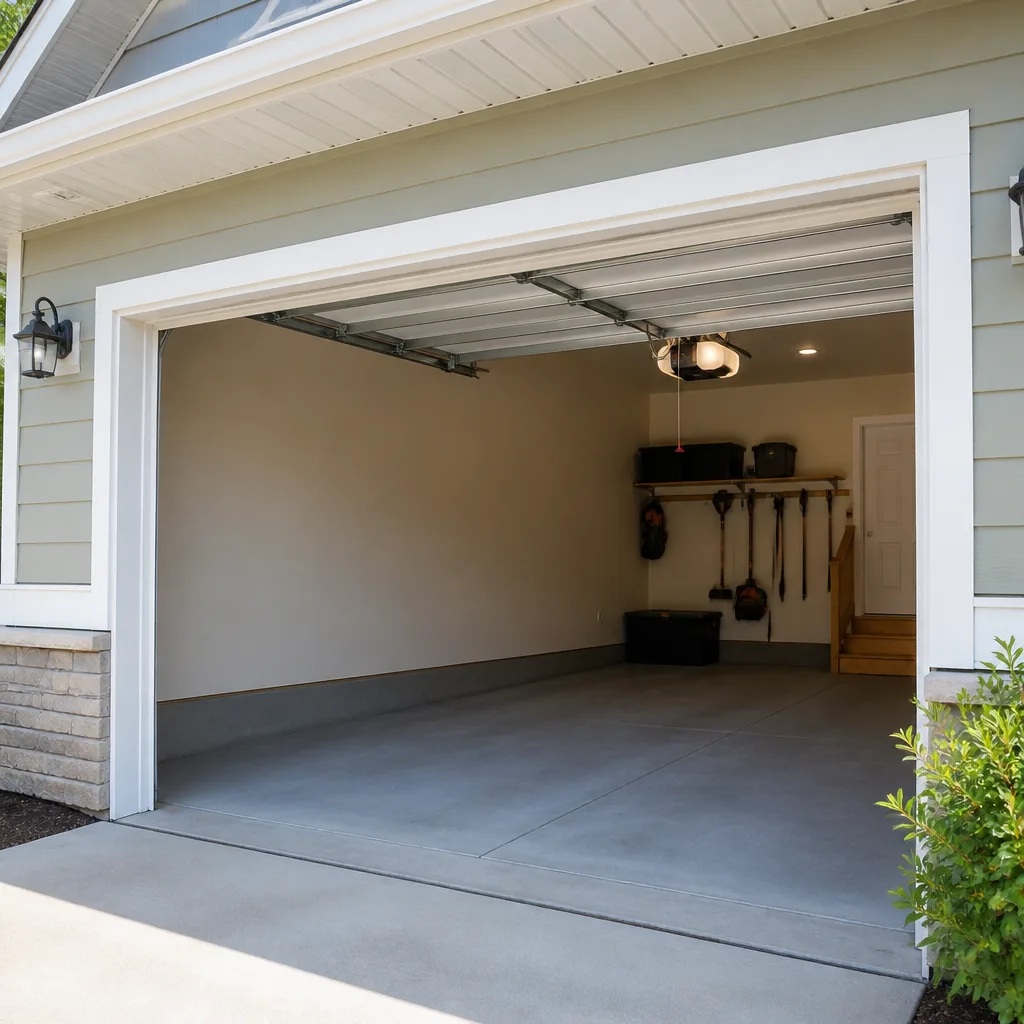 LiftMaster openers
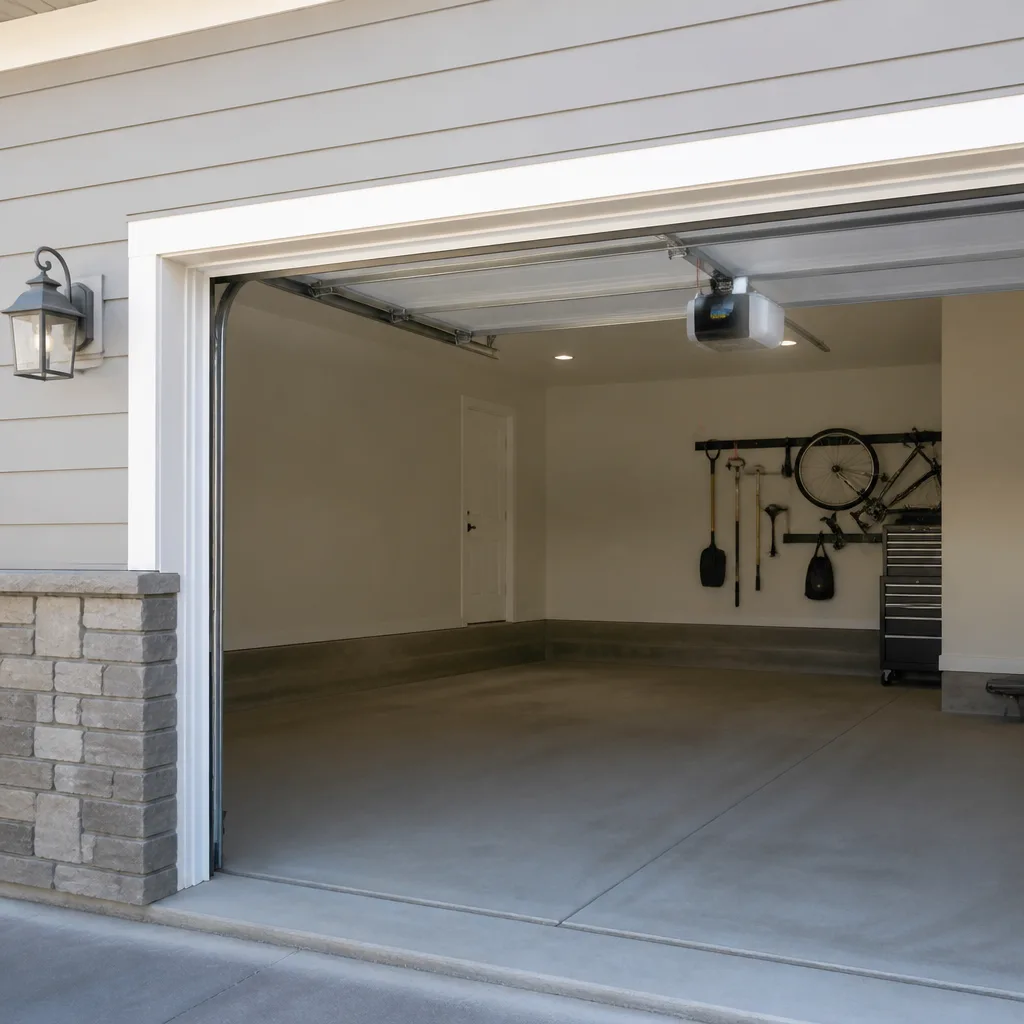 Chamberlain openers
Full 25-point door and opener safety check with every visit - springs, cables, rollers, tracks, and your LiftMaster or Chamberlain opener included
You get a price before we start. It does not change when the pro arrives.
Get your free estimateGarage Door Repair Troubleshooting in Everett: Common Problems and How to Fix Them
A garage door that reverses before it touches the ground isn’t broken. It’s doing exactly what it was designed to do. That single distinction – a safety response versus a mechanical failure – is the one most Everett homeowners miss, and it’s the reason a five-minute fix sometimes turns into a week of guessing. Most people troubleshoot the symptom they can see: the door that won’t close, the remote that quit, the grinding noise that started Tuesday. The better approach is to read the whole system. In this guide, we’ll walk you through the manual tests that tell you what’s actually wrong, why Everett’s wet climate creates failure patterns you won’t find in a generic video, and where the smart move is to stop and call. By the end, you’ll know how to sort opener faults from spring faults from track faults, and how to describe your problem so a technician arrives already knowing what to look for.
Quick Answer
Most garage door problems in Everett trace back to four systems: the opener, the springs, the tracks, and the safety sensors. You can narrow it down yourself in about ten minutes by testing the wall button, then the remote, then the manual release, then a visual check of the springs and cables. The problems you can safely handle are sensor alignment, track debris, and remote batteries. Stuck doors, snapped cables, and anything involving torsion springs should go to a trained technician – those parts hold serious stored force and are the leading cause of garage door injuries. For everything else, the diagnostic sequence below tells you what you’re dealing with before anyone touches a setting.
Styles & brands we work with
- Raised-panel steel
- Carriage house
- Modern flush
- Full-view glass
- LiftMaster openers
- Chamberlain openers
Table of Contents
- Read the Whole Door, Not Just the Broken Part
- How to Tell an Opener Fault from a Spring, Track, or Sensor Fault
- Why Everett’s Wet Climate Changes How Garage Doors Fail
- The One-Cable Visual Check That Tells You If a Spring Has Broken
- Testing the Opener Logic Board vs. the Wall Button vs. the Remote
- The Stop-Here List: What You Can Safely Attempt vs. When to Call
- What Repairs Typically Cost in Everett
- Can You Get Same-Day Repair in Everett?
Read the Whole Door, Not Just the Broken Part
A garage door is a system, and the symptom almost never lives in the same place as the cause. The door that closes halfway and stops isn’t necessarily a bad opener. More often it’s a binding track, a worn roller, or a spring that’s lost tension on one side and is fighting the motor. If you only look at the opener, you’ll replace good electronics while the real problem keeps grinding.
The better habit is to run through the door as a whole before you touch any settings. Start with the door closed and disconnected from the opener by pulling the manual release. Then lift it by hand. That single test tells you more than any app or diagnostic code:
- Lifts easily and stays up: the springs are balanced and the mechanical system is healthy. Your problem is in the opener or controls.
- Feels heavy, won’t stay up, or drops: a spring has failed or lost tension. The opener was never the problem.
- Lifts but grinds or binds on one side: a track, roller, or hinge issue.
- Won’t move at all, even by hand: something is jammed or a cable has come off its drum. Stop and call.
That hand-lift test is the single most useful thing you can do on your own. It separates mechanical failures from electronic ones in under a minute. Everything else in this guide builds on it.
Quick Answer: If the door lifts easily by hand but won’t move with the opener, you have an opener or control problem. If the door is heavy or drops when you lift it, you have a spring or balance problem. Never run the opener on a door with a broken spring – it can damage the motor and the door itself.
How to Tell an Opener Fault from a Spring, Track, or Sensor Fault
Every fault leaves a signature. Once you know what each one looks like, you can name your problem before you call, which means a faster, more accurate repair. Here’s the sequence we’d run if we were standing in your driveway in Everett.
Step 1: Watch what the door actually does
- Reverses immediately after starting to close: safety sensor or a binding track. This is a healthy safety response, not a broken door.
- Starts to close, then reverses partway: force limit is tripped – usually a track or balance issue.
- Opens a few inches and stops: travel limit setting, or a binding track or spring.
- Hums but doesn’t move: opener motor or logic board, or a disconnected release.
- Moves only in one direction: wall button wiring, logic board, or a limit switch set at its end point.
- Nothing happens at all: power, remote battery, wall button, or logic board.
Step 2: Check the sensors
Look at the two small lenses near the ground on either side of the door. Each should have a steady light. If one is dark or flickering, the safety beam is interrupted – usually by a leaf, cobweb, or a lens knocked out of alignment. Clean both lenses and check that the lenses point at each other. This is one of the most common calls we get, and it resolves in minutes nine times out of ten.
Step 3: Check the springs and cables, from the floor
Don’t reach up. Don’t touch anything. Stand back and look. A torsion spring is the coiled spring mounted above the door on the torsion bar. An extension spring sits above the horizontal tracks on each side. In both cases, look for an obvious gap in the coil. A broken spring usually announces itself with a gap, though not always – see the one-cable check below.
Step 4: Check the tracks
The vertical and horizontal tracks should be clean and parallel. Look for visible dents, bent sections, or debris at the base where they meet the floor. Anything bent means the door has been hit or skewed – a task for a technician, not a hammer.
Why Everett’s Wet Climate Changes How Garage Doors Fail
Everett sits in a wet climate, and that produces specific failure patterns a homeowner won’t see on a generic video made in a dry state. Three stand out:
- Swollen wood frames bind the tracks. When wood door frames absorb moisture, they expand. Even a small amount is enough to pinch the vertical track and drag the rollers off their path. The door then binds on one side, which reads as a “sticking opener” when it’s really a frame-and-track problem.
- Rusted spring coils lose tension unevenly. A spring that rusts on one coil more than another winds unevenly. The door sags on one side, the opener works harder, and you get a grinding or hesitation that doesn’t show up in dry months. This shows up most in older neighborhoods where garages have never had weather seals replaced.
- Loose hardware loosens faster. Temperature swings expand and contract the metal panels and hinges. Bolts that would stay snug in a dry climate work themselves loose here. A rattle on the road is usually a handful of hinge bolts that have backed off, not a failing door.
That last one is worth acting on. A quick walk-around with a socket wrench and a snug on any loose hinge and bracket bolts is cheap preventative maintenance. Don’t overtighten – the hardware should be snug, not crushing the panel. Never touch the spring hardware in this process.
Rain also means water on the floor, and water on the floor means grit and debris tracked into the tracks. Cleaning the tracks with a dry cloth and checking for leaves or gravel is a good seasonal habit. Don’t lubricate the tracks themselves – they’re meant to run dry. The rollers, hinges, and spring coils are what need a light spot of lubricant. Call us if you aren’t sure which parts should get it.
If you want the broader maintenance picture, our Everett page covers what nearby homeowners run into most and how service works in this city.
The One-Cable Visual Check That Tells You If a Spring Has Broken
Most people think a broken spring announces itself with a bang or a visible gap. It doesn’t always. A spring that’s lost tension gradually looks completely intact from across the garage floor. That’s why a spring that has fully snapped and one that’s just worn both present as “the door is heavy,” and homeowners often assume the opener has quit.
The distinction matters because it changes what you do next. A fully broken spring means the door is unbalanced and unsafe to operate. A weakening spring means the door still runs but the opener is doing work it wasn’t designed to do, which is how motors get burned out on top of a spring problem. Either way, the fix is the same: call a technician and don’t cycle the door until then.
Here’s the check – from the floor, with the door closed, no touching:
- Identify the springs. Torsion springs sit on the bar above the door, parallel to it. Extension springs sit above the horizontal side tracks.
- Look at the full length of every coil. A gap between coils means a broken spring.
- Follow the torsion cable from the drum at each end of the spring bar down to the bottom corner bracket of the door. The cable should be under tension and wound neatly on the drum. A cable that has come off, gone slack, or is frayed means stop.
- Look at the door’s alignment. If one side sags while the other is level, that’s often a sign of uneven spring tension.
- Lift the door by hand with the manual release pulled. Heavy or dropping means the springs aren’t holding their load.
Do not touch the spring, the bar, or any of the winding hardware. A torsion spring at rest holds a force that can seriously injure an untrained person in an instant. The point of this check is to identify the problem, not to correct it.
Testing the Opener Logic Board vs. the Wall Button vs. the Remote
When the opener doesn’t respond, most people assume the motor has failed. Usually it hasn’t. Three separate parts can stop the door from moving, and each has a distinct test you can run with no special tools.
Test 1: The remote
Press the remote from inside the garage, close to the opener. If the door responds, the remote is fine and the problem is elsewhere. If not, replace the battery first – this is the most common cause of a “dead” remote. If the door still doesn’t move with a fresh battery, try re-pairing the remote according to the opener’s manual.
Test 2: The wall button
Walk over to the wall button inside the garage and press it. If the door moves with the wall button but not the remote, your issue is in the remote or the opener’s radio receiver. If the door doesn’t move with either, go to the next test. If the wall button works intermittently, look at the wire running from the button to the opener – a loose connection at either end is a frequent cause. Never rewire a wall button connection while the opener is powered.
Test 3: The opener unit itself
Open the light cover on the opener housing (most units have one) and look at the LED indicator, if your model has one. Every major brand uses a slightly different blink pattern, but the pattern is meaningful – Craftsman, Chamberlain, and Genie units, for example, all use blinking codes to report failures. If the opener clicks or hums but doesn’t move the door, the motor is receiving power. If there’s no click or hum at all, the logic board, the safety sensor, or the switch is the likely culprit. If the opener has a lock-out feature after too many failed cycles, a power reset may restore it – but if it locks out repeatedly, there’s an underlying fault worth diagnosing.
Knowing whether the problem lives in the remote, the wall button, or the opener changes what the technician brings to the job. That’s why we make a point of asking which of these three tests succeeded before we arrive. Our garage door opener repair team handles this kind of brand-specific diagnosis on LiftMaster, Chamberlain, Genie, and Craftsman systems every week.
The Stop-Here List: What You Can Safely Attempt vs. When to Call
Not every problem is a call-out, and a good technician will tell you that. Some fixes are genuinely DIY. Others look simple and aren’t. Here’s our honest line between the two.
Safe to attempt on your own
- Replacing a remote battery. Straightforward and resolves most dead-remote complaints.
- Re-pairing a remote to the opener. Follow the opener’s manual – the process varies by brand and model.
- Cleaning and realigning safety sensors. Wipe the lens, check that both lights are steady, and nudge the bracket if one is pointing away.
- Clearing debris from the tracks. Dry cloth, no lubricant, no tools beyond that.
- Snugging loose hinge and bracket bolts. A socket wrench and five minutes. Don’t overtighten.
- Checking the manual release. Pulling the red handle to disconnect the door is safe and useful for diagnosis.
Stop here and call
- Anything involving a torsion spring. These hold extreme force and require the right winding bars and training. There is no safe DIY version of this job.
- A snapped or off-drum cable. The cable is under tension and a reattachment without the correct tooling risks injury and further damage to the door.
- The door has come off one or both tracks. Don’t try to lift or force it back – the door can fall.
- Bent or damaged panels or tracks. Straightening a bent track by hand is more likely to distort the door than correct it.
- The door is hanging unevenly or has dropped. This usually means unbalanced springs, and operating the door can cause further damage.
- The opener motor has failed or burned out. Replacements and repairs need to match the opener model and door weight.
That’s the line, and we hold it on every call. If a problem is on the safe list, we’ll tell you so and you can save yourself the appointment. If it’s on the stop-here list, we’d rather be there for ten minutes than hear that you tried it and got hurt.
What Repairs Typically Cost in Everett
Repair costs in Everett depend on the part, the brand, and whether the door is a single or double. These are typical estimated ranges homeowners in this area can expect, and the written estimate we give you before any work begins is the final price. That last part matters more than the range itself. You should never be surprised by the invoice after the technician starts.
| Repair | Typical Estimated Range | Notes |
|---|---|---|
| Safety sensor realignment | Service-call level | Often resolved during a routine visit |
| Remote or wall button replacement | Parts plus labor | Model-specific; brand matters |
| Track realignment or roller replacement | Tracks on one side or a roller set | Doubles take longer than singles |
| Single torsion spring replacement | One spring, priced per spring | Most doors use a matched pair – a pair usually costs about twice a single |
| Extension spring replacement | Priced per spring | Set of two on most double doors |
| Cable replacement | Priced per cable | Most jobs replace both sides |
| Opener motor or logic board repair | Depends on opener model | Brand-specific parts change the price |
| Opener replacement (unit only) | Depends on opener model | Door weight and opener features drive the range |
A matched pair of torsion springs is normally replaced together even if only one has snapped. The second spring is the same age as the first, and it will usually fail within a short time of its partner. Doing both at once means one visit, not two.
We quote before we touch anything. If the job turns out to be different once the technician is on-site, you get a revised price and a chance to approve or decline. The written estimate is the price, not a starting point. If you want a free estimate, call Oasis Garage Door Repair and we’ll talk through what you’re seeing before we book a visit.
Can You Get Same-Day Repair in Everett?
Yes – for many common repair problems, same-day service is available in Everett. Spring and cable jobs, sensor issues, and opener faults are the ones we most often resolve in a single visit. The caveat is that some repairs need a part that has to match your exact door or opener model. If the technician arrives and identifies the right part is not one that’s typically carried, that job is scheduled once the part is in hand. That’s an honest answer, not a runaround.
New door installation and full opener replacement aren’t same-day work. Those jobs require a measure, a written quote, and scheduling, and we treat them that way – free measure, written price, then a scheduled install. For repair calls, here’s what happens:
- Call (833) 427-9172. We answer 24/7.
- Describe what you’ve tested. If you’ve run the hand-lift and wall-button checks, tell us. It saves a step on arrival.
- Get a booking. Fast dispatch from 7am to 7pm, Sunday through Friday. We’re closed Saturday.
- Approved price before work. Written estimate, your sign-off, then the repair.
If you’re not sure whether your problem is a same-day repair or a scheduled job, our garage door repair team can tell you over the phone once you describe the symptoms.
Common Mistakes to Avoid
- Running the opener on a door with a broken spring. The motor will try to lift a door that’s lost its balance, and it will burn itself out trying. That turns a spring replacement into a spring-plus-opener job.
- Assuming a reversing door means a broken opener. A door that reverses is usually responding to a safety sensor interruption or a binding track. Replacing the opener first wastes money and doesn’t fix the problem.
- Forcing a binding door up or down. A door that binds has a mechanical reason – often a swollen frame pinching a vertical track in Everett’s wet months. Forcing it can bend panels, snap cables, or bring the door off the tracks.
- Trying to adjust a torsion spring without training. This is the leading cause of garage door injuries. Stored force in a spring can be released in an instant, and there is no safe way to learn it by trial.
- Overtightening loose hardware. Panel bolts should be snug. Cranking them down crushes the steel and causes new alignment issues, especially on doors that see a lot of temperature swings.
- Lubricating the tracks themselves. Tracks are meant to run dry. Lubricant attracts grit, and grit turns into a binding track. Rollers and hinges are what need a light lubricant, not the tracks.
- Ignoring one weak spring. If one spring of a matched pair has failed, the other is on borrowed time – replacing only one means the second trip is not far behind.
See the difference
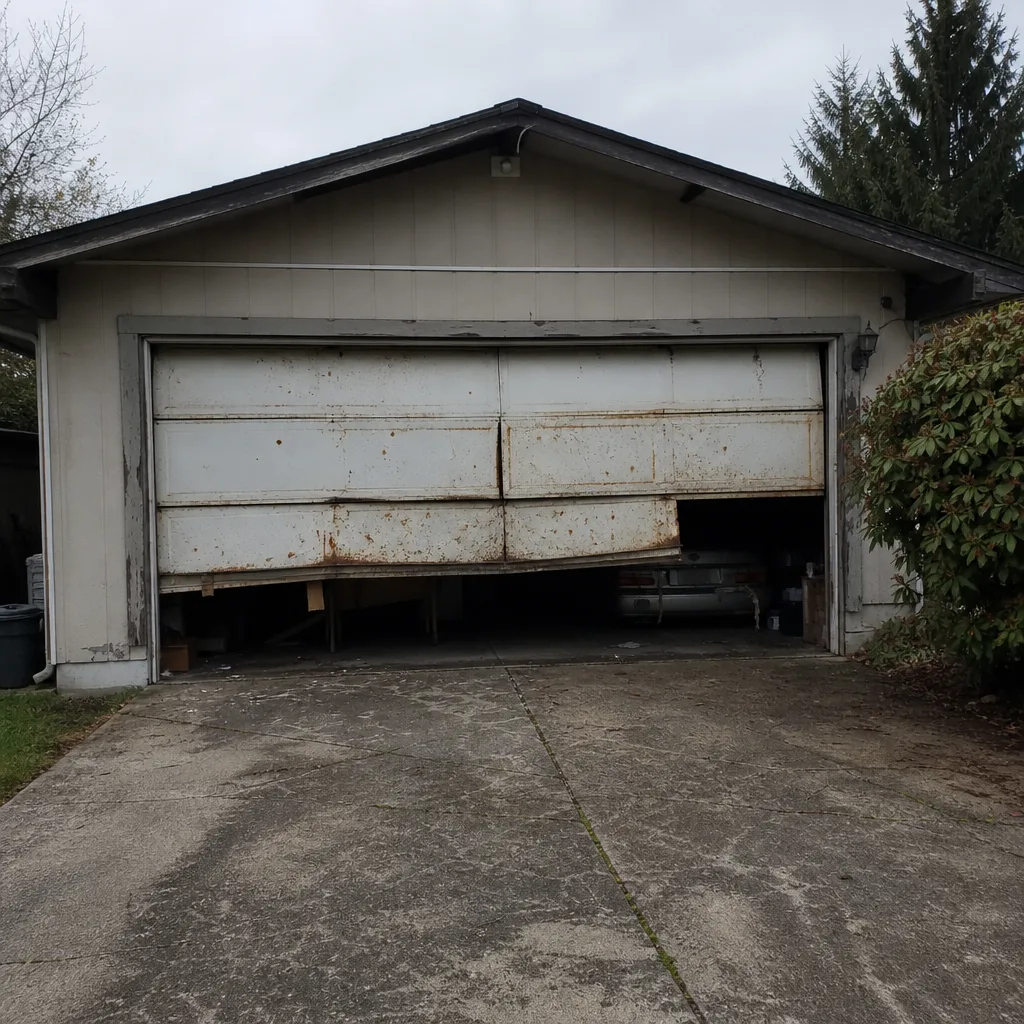 Before
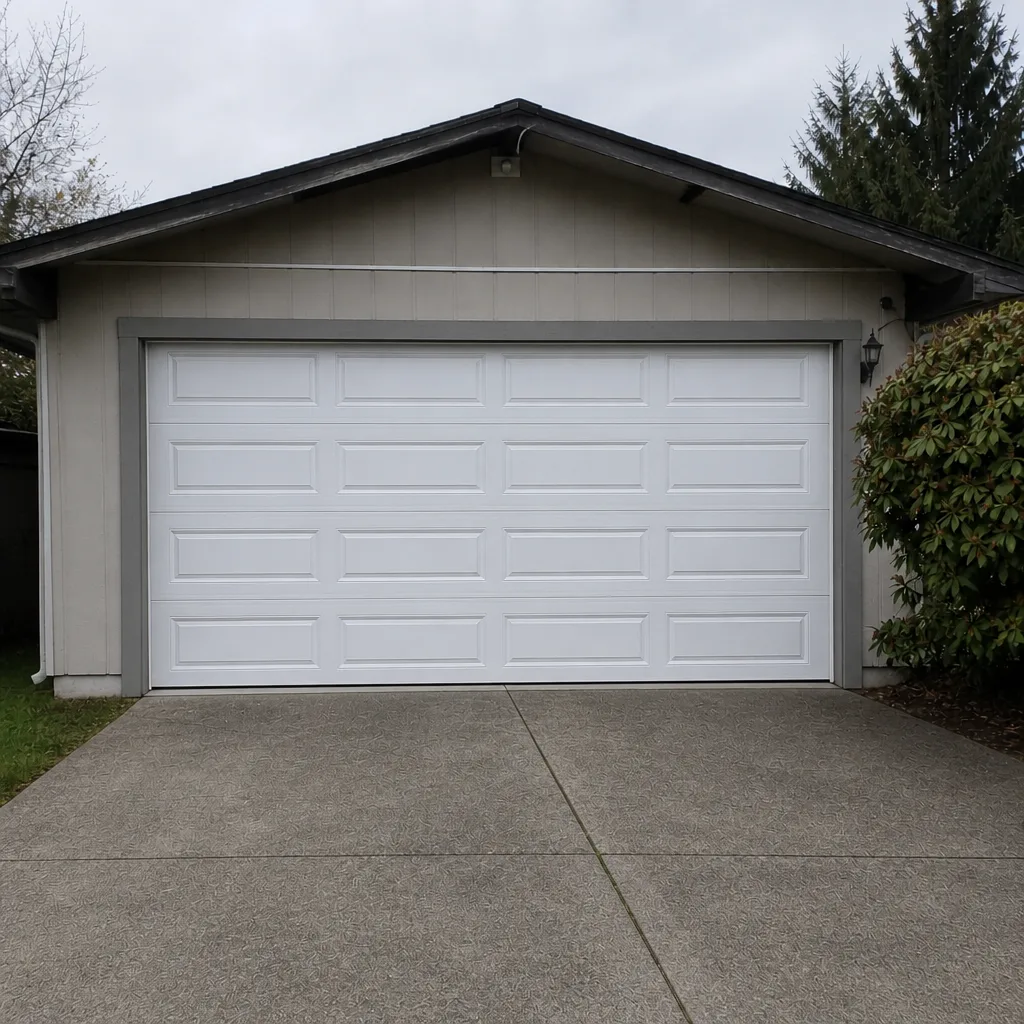 After
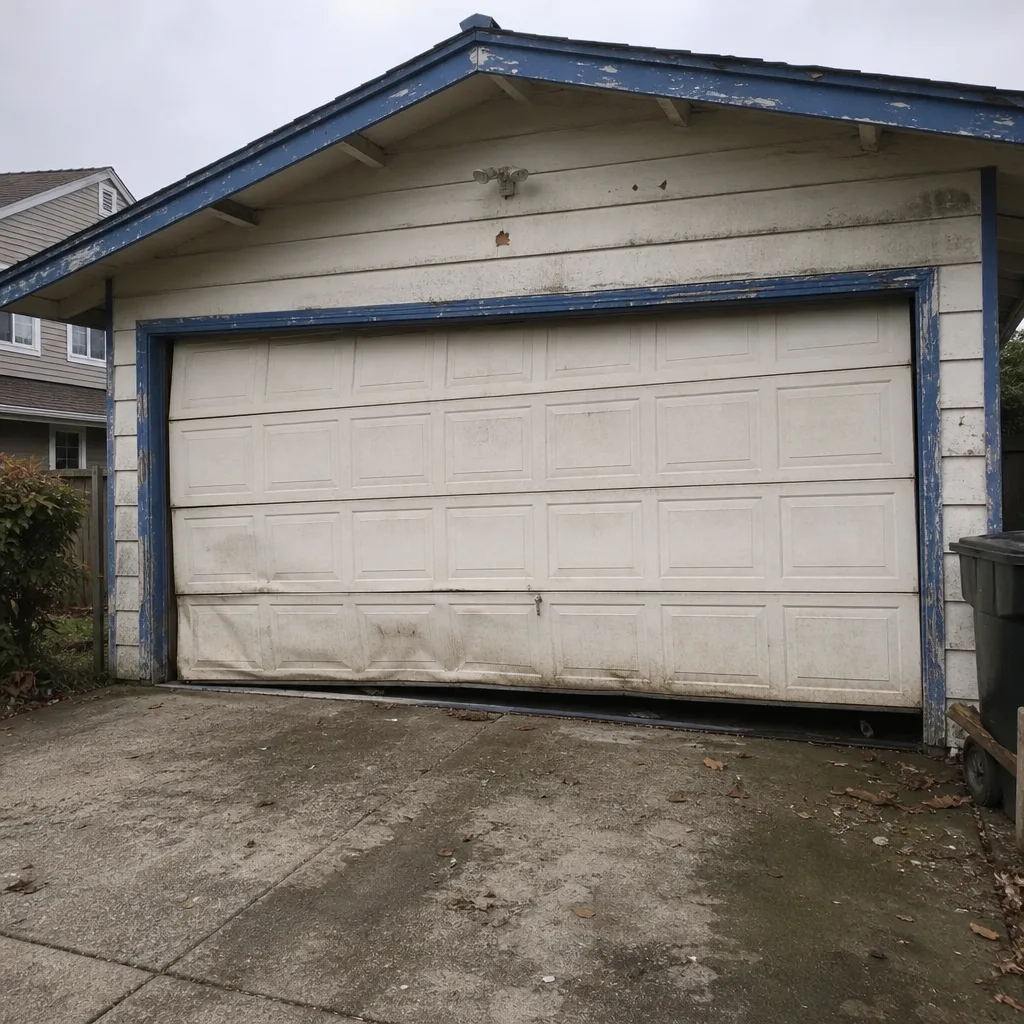 Before
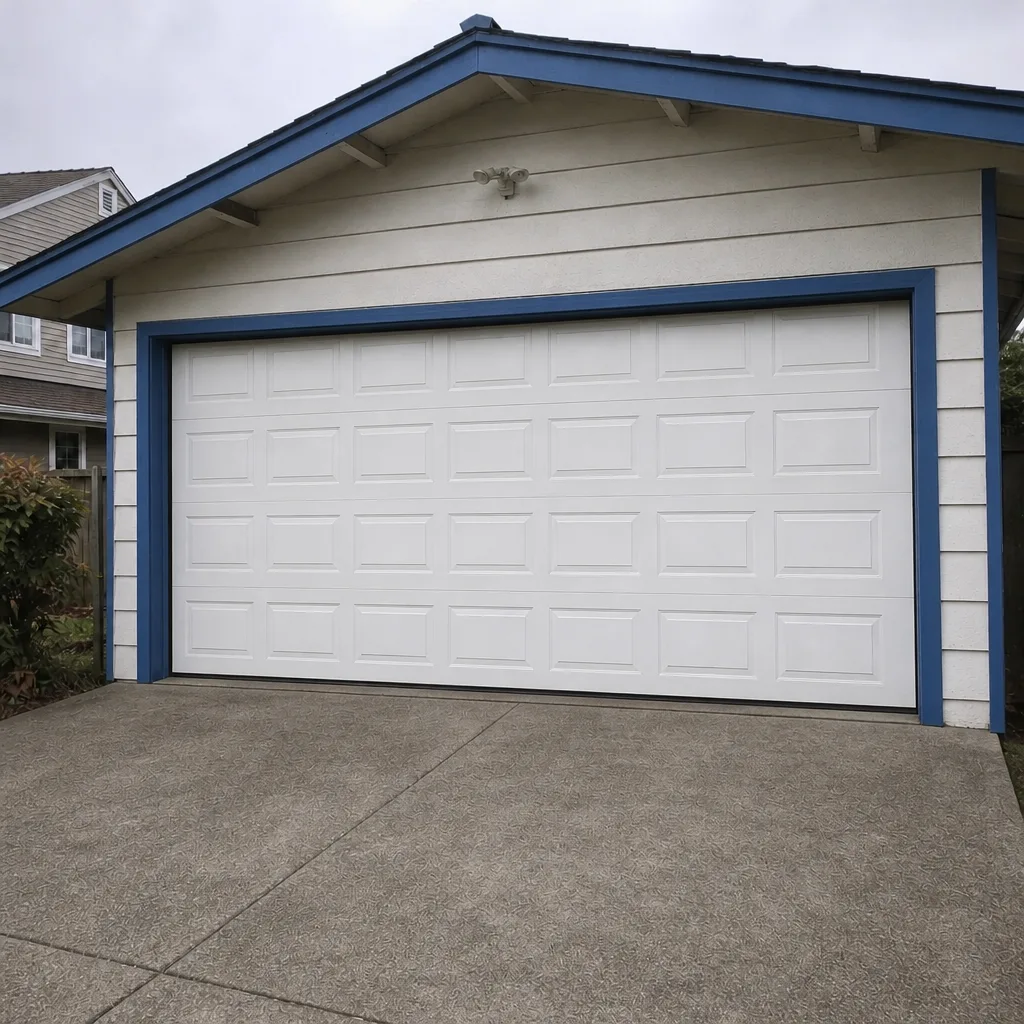 After
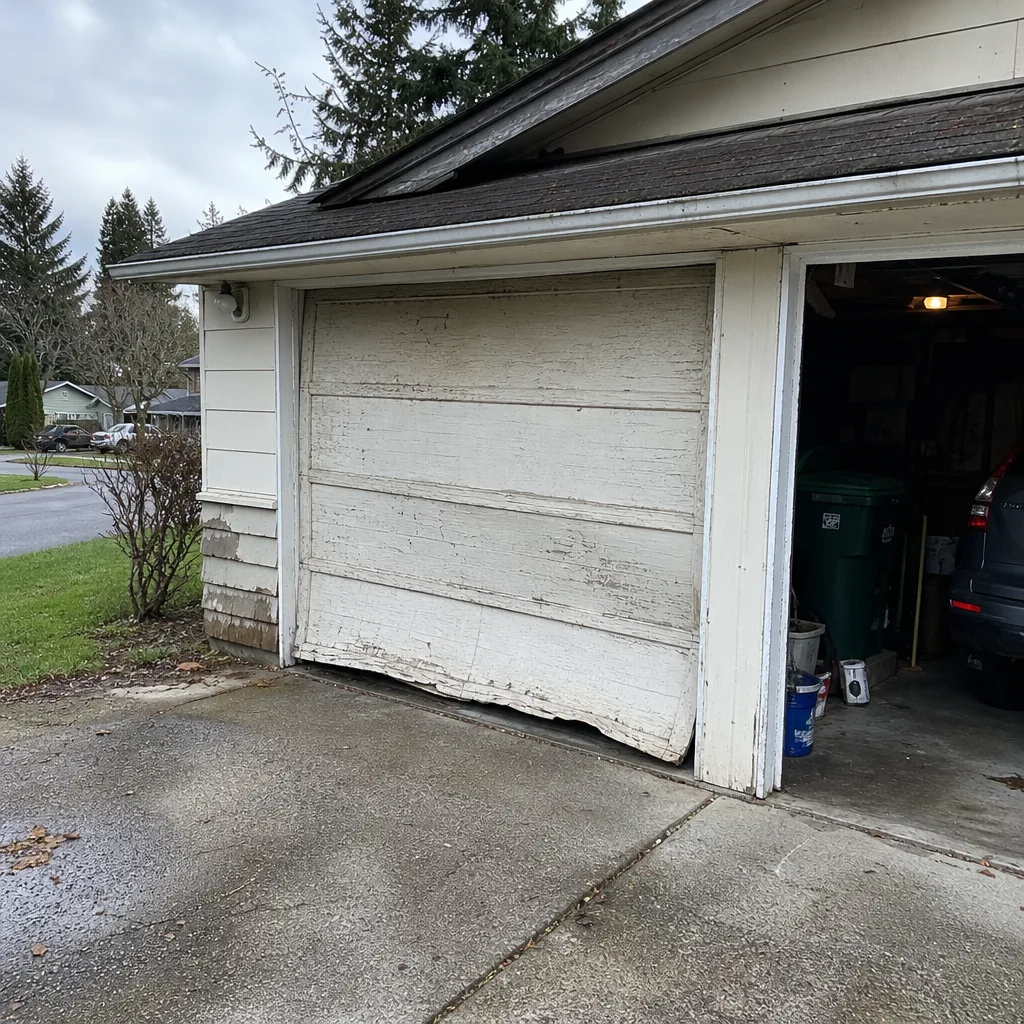 Before
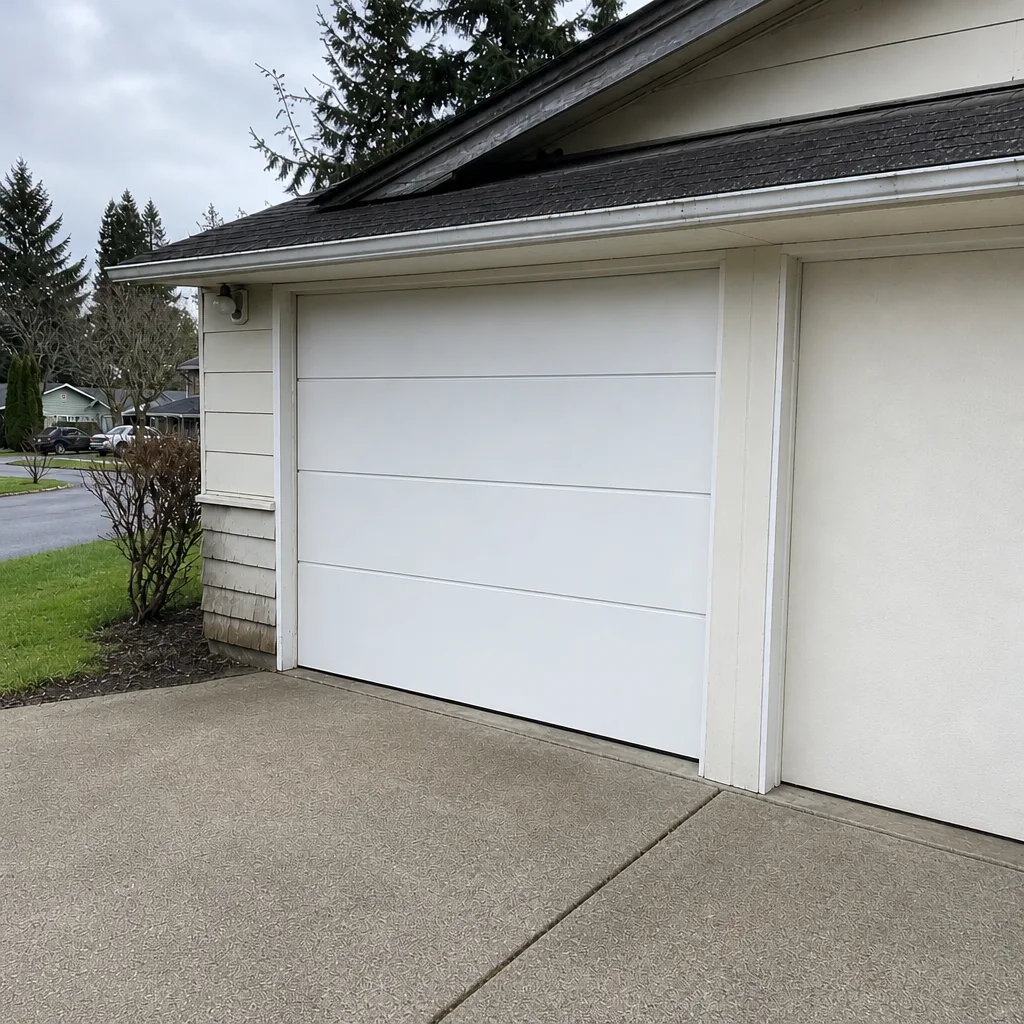 After
When to Call a Professional
Call a professional if any of these is true: the door is heavy when lifted by hand, a spring has an obvious gap, a cable is slack or off the drum, the door has come off a track, or anything about the job would require touching spring or cable hardware. Those are the jobs where attempting a fix can cause injury, damage the door, or both. Same goes for any opener problem that survives the three-test sequence above – if the remote, the wall button, and the unit itself have all been checked and the door still doesn’t move, a trained technician should look at it.
Oasis Garage Door Repair offers free estimates in Everett – call (833) 427-9172. We work on the most common residential brands, including Amarr, Wayne Dalton, Craftsman, and Raynor, so there’s no learning curve when we arrive at your door. We answer 24/7, and fast dispatch runs from 7am to 7pm, Sunday through Friday.
Frequently Asked Questions
Because a safety sensor is telling it to. The two lenses at the base of the door use an infrared beam, and if anything interrupts it – a leaf, a cobweb, a misaligned lens – the opener reverts to its default safety response. Clean both lenses and check that each has a steady light. If they do and the door still reverses, the force limit setting or a binding track is the likely cause, and both are worth having a technician look at.
A broken spring usually shows a visible gap in the coil, and the door will feel very heavy when you lift it by hand with the release pulled. A torsion spring sits above the door on the bar; an extension spring sits above the side tracks. If there’s no gap but the door is heavy or drops when lifted, the spring may have weakened without snapping, which still needs replacing before you cycle the door again. Never touch the spring itself – just look and note what you see.
Yes for sensor realignment, remote batteries, debris in the tracks, and snugging loose hinge bolts. No for torsion springs, cable reattachment, bent tracks, or a door off its runners. Those jobs involve stored force and a real risk of injury, and a trained technician with the right tooling fixes them far more safely than a homeowner can. When in doubt, treat it as a call-the-professional job.
It depends on the part and the brand. Most jobs fall into a service-call level for minor fixes, a per-spring price for spring replacements, and a per-cable price for cable work. A matched pair of torsion springs usually costs about twice a single spring, and most doors are set up as pairs. The written estimate we give you before any work begins is the final price – call (833) 427-9172 for an exact quote, and the estimate is free.
Because wood frames swell when they absorb moisture, and a swollen frame pinches the vertical track. The door then binds on one side and the opener has to work harder, which reads as a sticking or sluggish door. Rusted spring coils that lose tension unevenly can cause the same effect. Cleaning the tracks and checking the door’s balance with the hand-lift test tells you which of those you’re dealing with – and it’s the kind of thing we see most in Everett between late fall and spring.
The problem is in the remote or the opener’s radio receiver, not the door. Replace the remote’s battery first, then try re-pairing the remote according to the opener’s manual. If neither works, the receiver on the opener or a wall button wire is the likely fault. Craftsman and Chamberlain openers, for example, each have their own pairing process that’s worth following exactly. If re-pairing doesn’t restore the remote, call us and we’ll diagnose the radio side on-site.
The Bottom Line
Most garage door problems look worse than they are, and the trick is reading the whole system rather than the one part that got your attention. Run the hand-lift test first. If the door is light and balanced, your problem lives in the opener or the controls, and the three-test sequence will tell you which. If the door is heavy, a spring is the issue and the job belongs to a trained technician. In Everett, expect swollen frames and rusted coils to be part of the story when the door binds or feels uneven. Know the safe list, know the stop-here list, and quote before work starts. Get those pieces right and you’ll have your problem correctly diagnosed in ten minutes – and back to a working door considerably faster.
If you’ve run the tests and you’re still not sure, or the problem is on the stop-here list, call Oasis Garage Door Repair at (833) 427-9172 for a free estimate. We answer 24/7, with fast dispatch from 7am to 7pm, Sunday through Friday, and we’ll quote the price before we start. Your brand. Our expertise.
Written by the team at Oasis Garage Door Repair.